Three-Needle Bind Off
Merge two sets of stitches into one
This bind off is often used when you want to create a rolled hem at the bottom edge of a sweater (shown here with the wrong sides of the fabric together). You could also bind off the new set of live stitches you create simultaneously to create a decorative line of stitches on the top of a shoulder, or, if you bind off on the inside (with right sides together), to close everything off neatly without seaming.
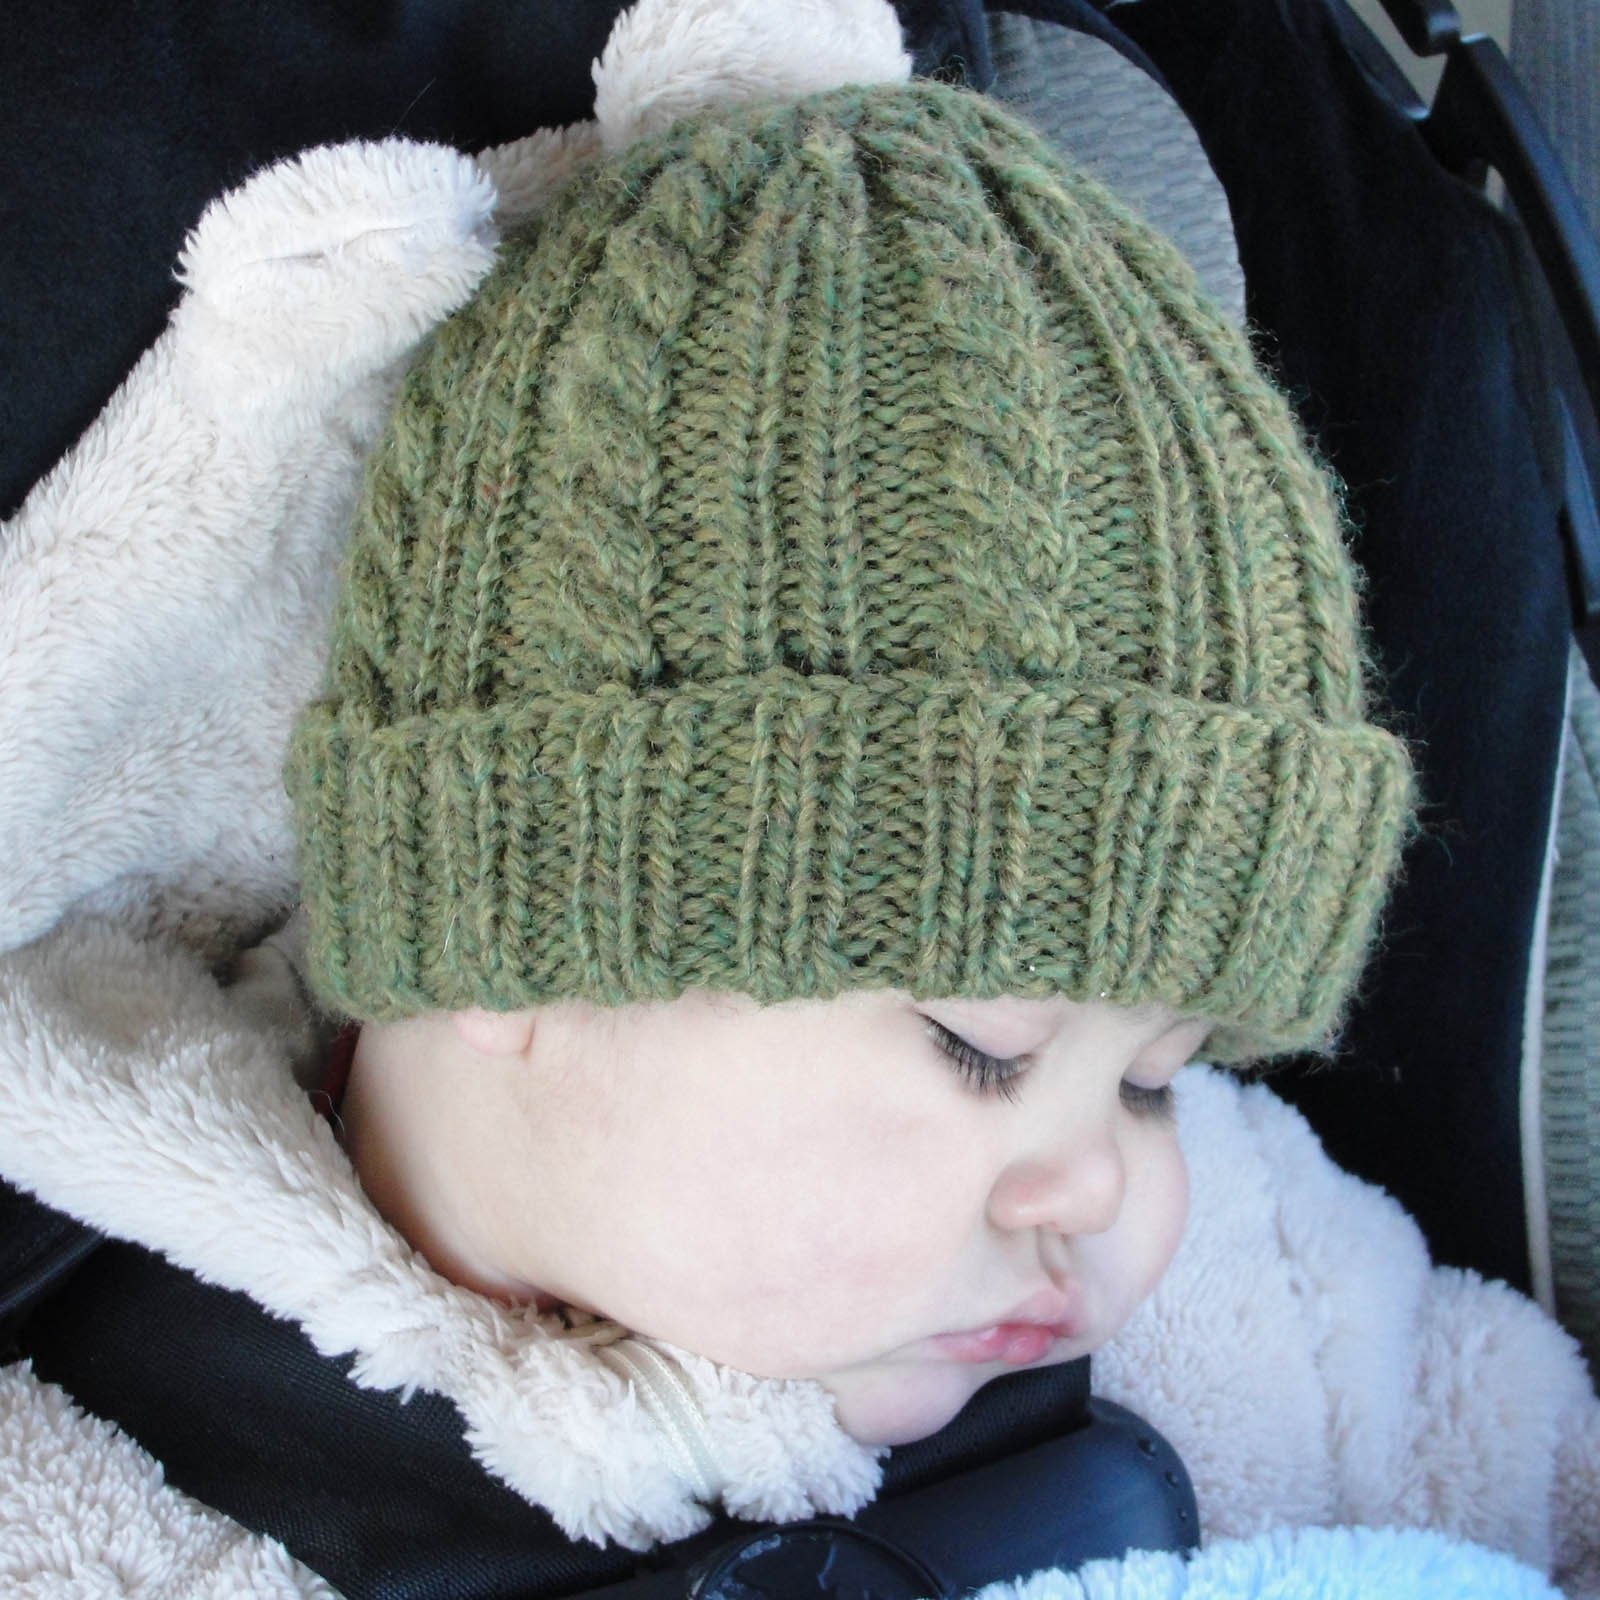
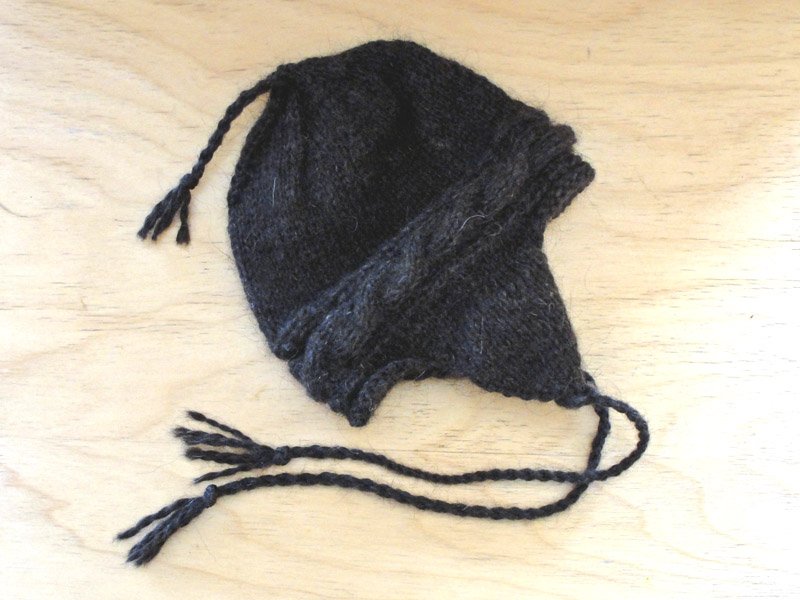
Good for: rolled hems, or, if you combine with Basic Bind Off, finishing shoulders and hoods, and closing hatbands.

How to do it:
Text included in the images is written out below each step to make this Low Vision Accessible. Instructions on the images are for right-handed people. Instructions in the written text is non-hand specific.
Basic Principle:
You will join two sets of live stitches into a single set by working a new row into both sets at the same time.
The sample shows a partial three-needle bind off that would be used for something like a rolled hem.
A full three-needle bind off might be used to create a stable shoulder seam on a sweater. To do this, combine this technique with the Basic Bind Off and bind off each new stitch completely as you make it. Note that this will create a chain of stitches along the seam unless you do it from the wrong side of the fabric.

Step One:
Start with two sets of live stitches on needles (usually created with a Provisional Cast On). The needle ends you are binding off from should be on the right side, and your working yarn should come from the top, or the side nearest you once the needles are brought together.

Step Two:
Fold the fabric so the two needles are parallel to each other and the stitches on both needles are even with each other, with the right side of the fabric out if you are creating a folded hem. The yarn should be coming from the first stitch on the needle closest to you.
If your first stitch to work is a knit stitch, move your yarn behind the needles. If it’s a purl stitch, move it in front of the needles.
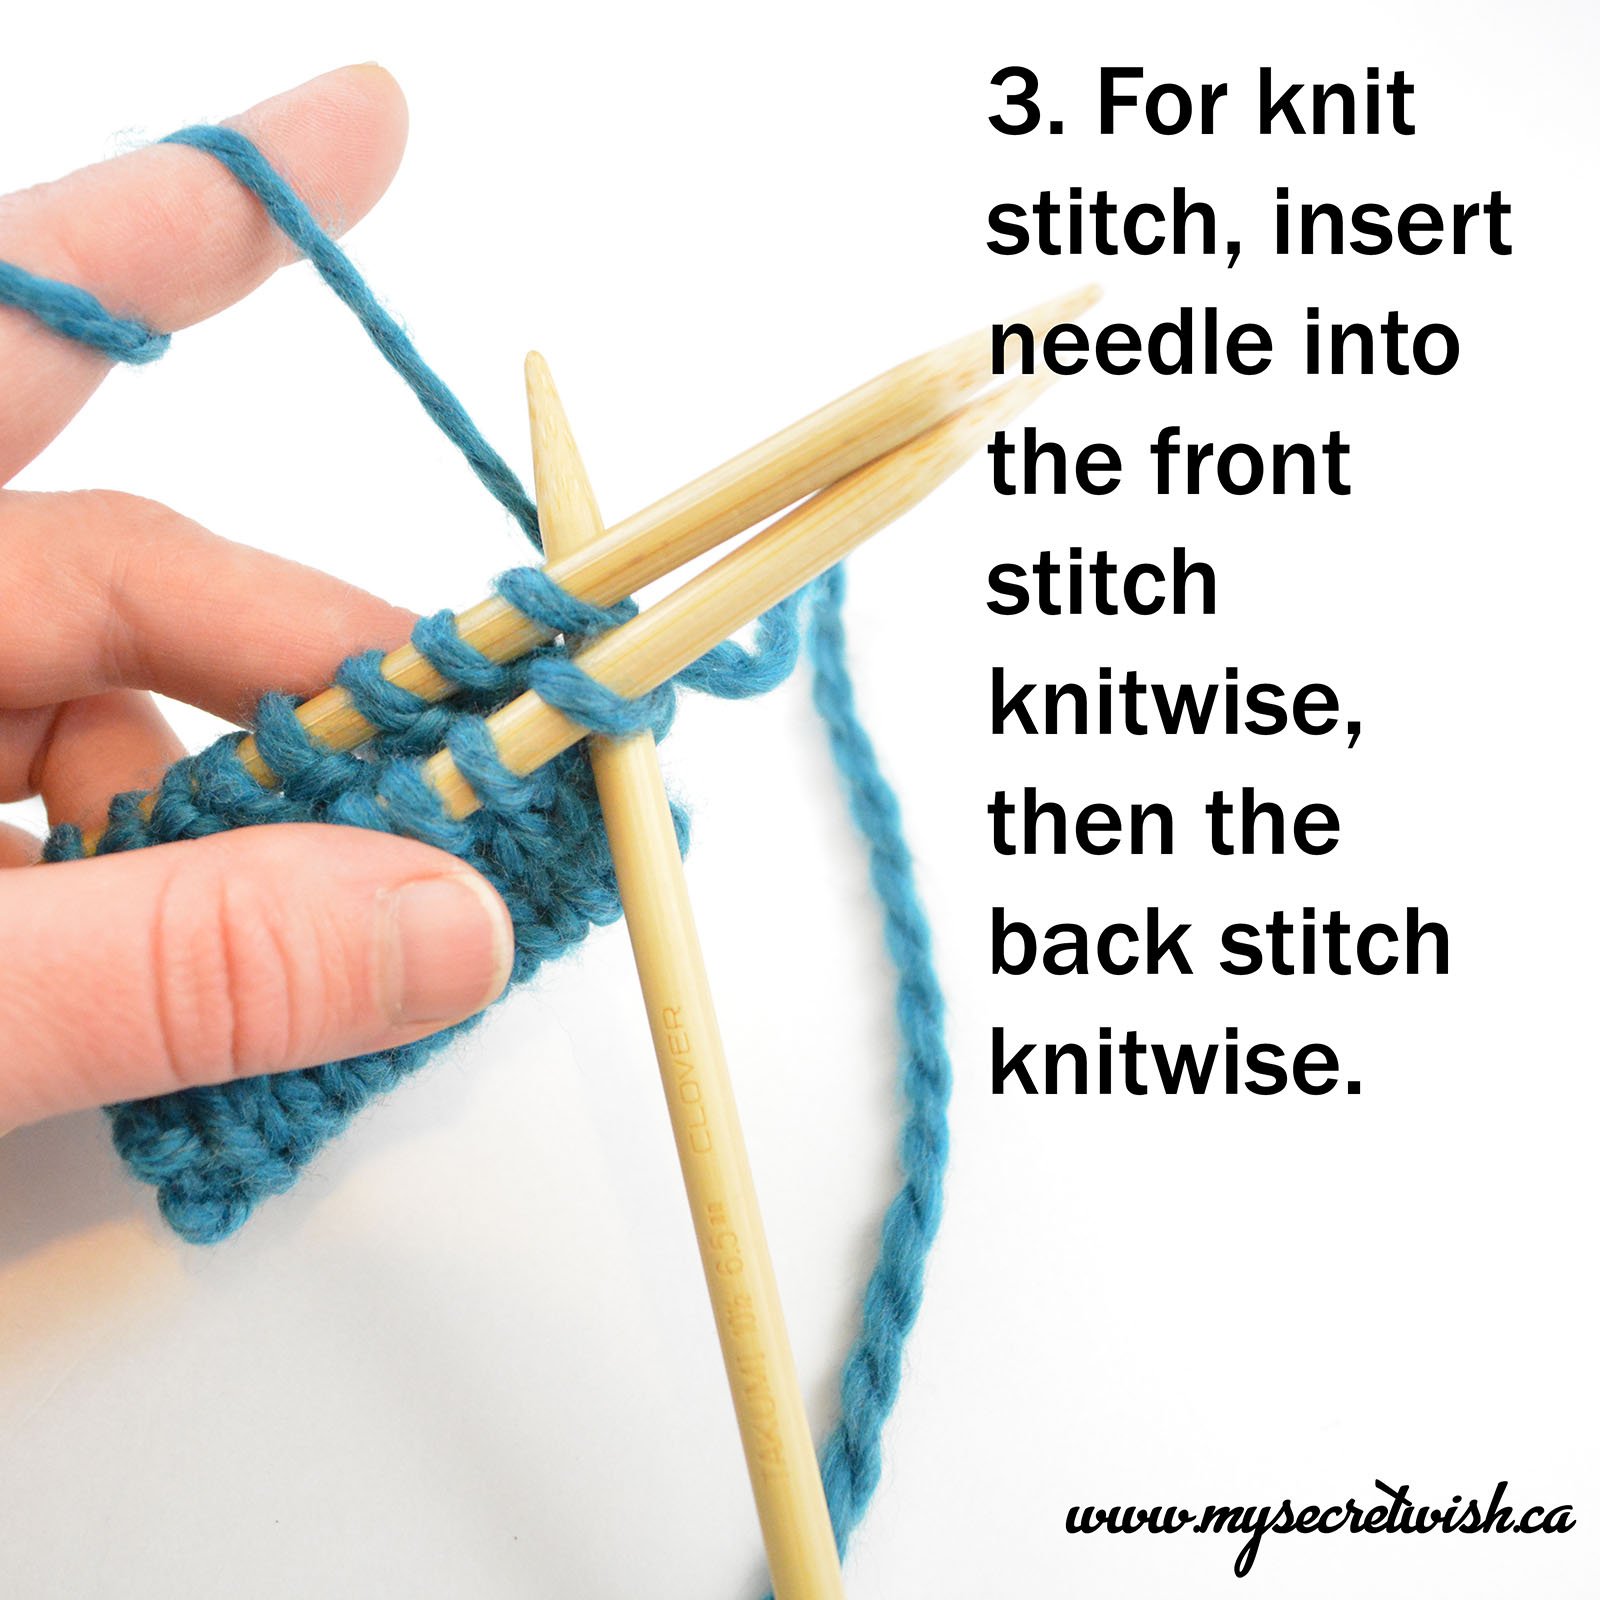
Step Three:
For knit stitch, insert needle into front stitch knitwise, then the back stitch knitwise.
(For purl stitch, see Step Five.)

Step Four:
Knit through both stitches at once by pulling yarn back through, then pull the worked stitches off the needles.

Step Five:
For purl stitch, insert needle into the back stitch purlwise, then the front stitch purlwise. (This can be tricky, so have patience.)
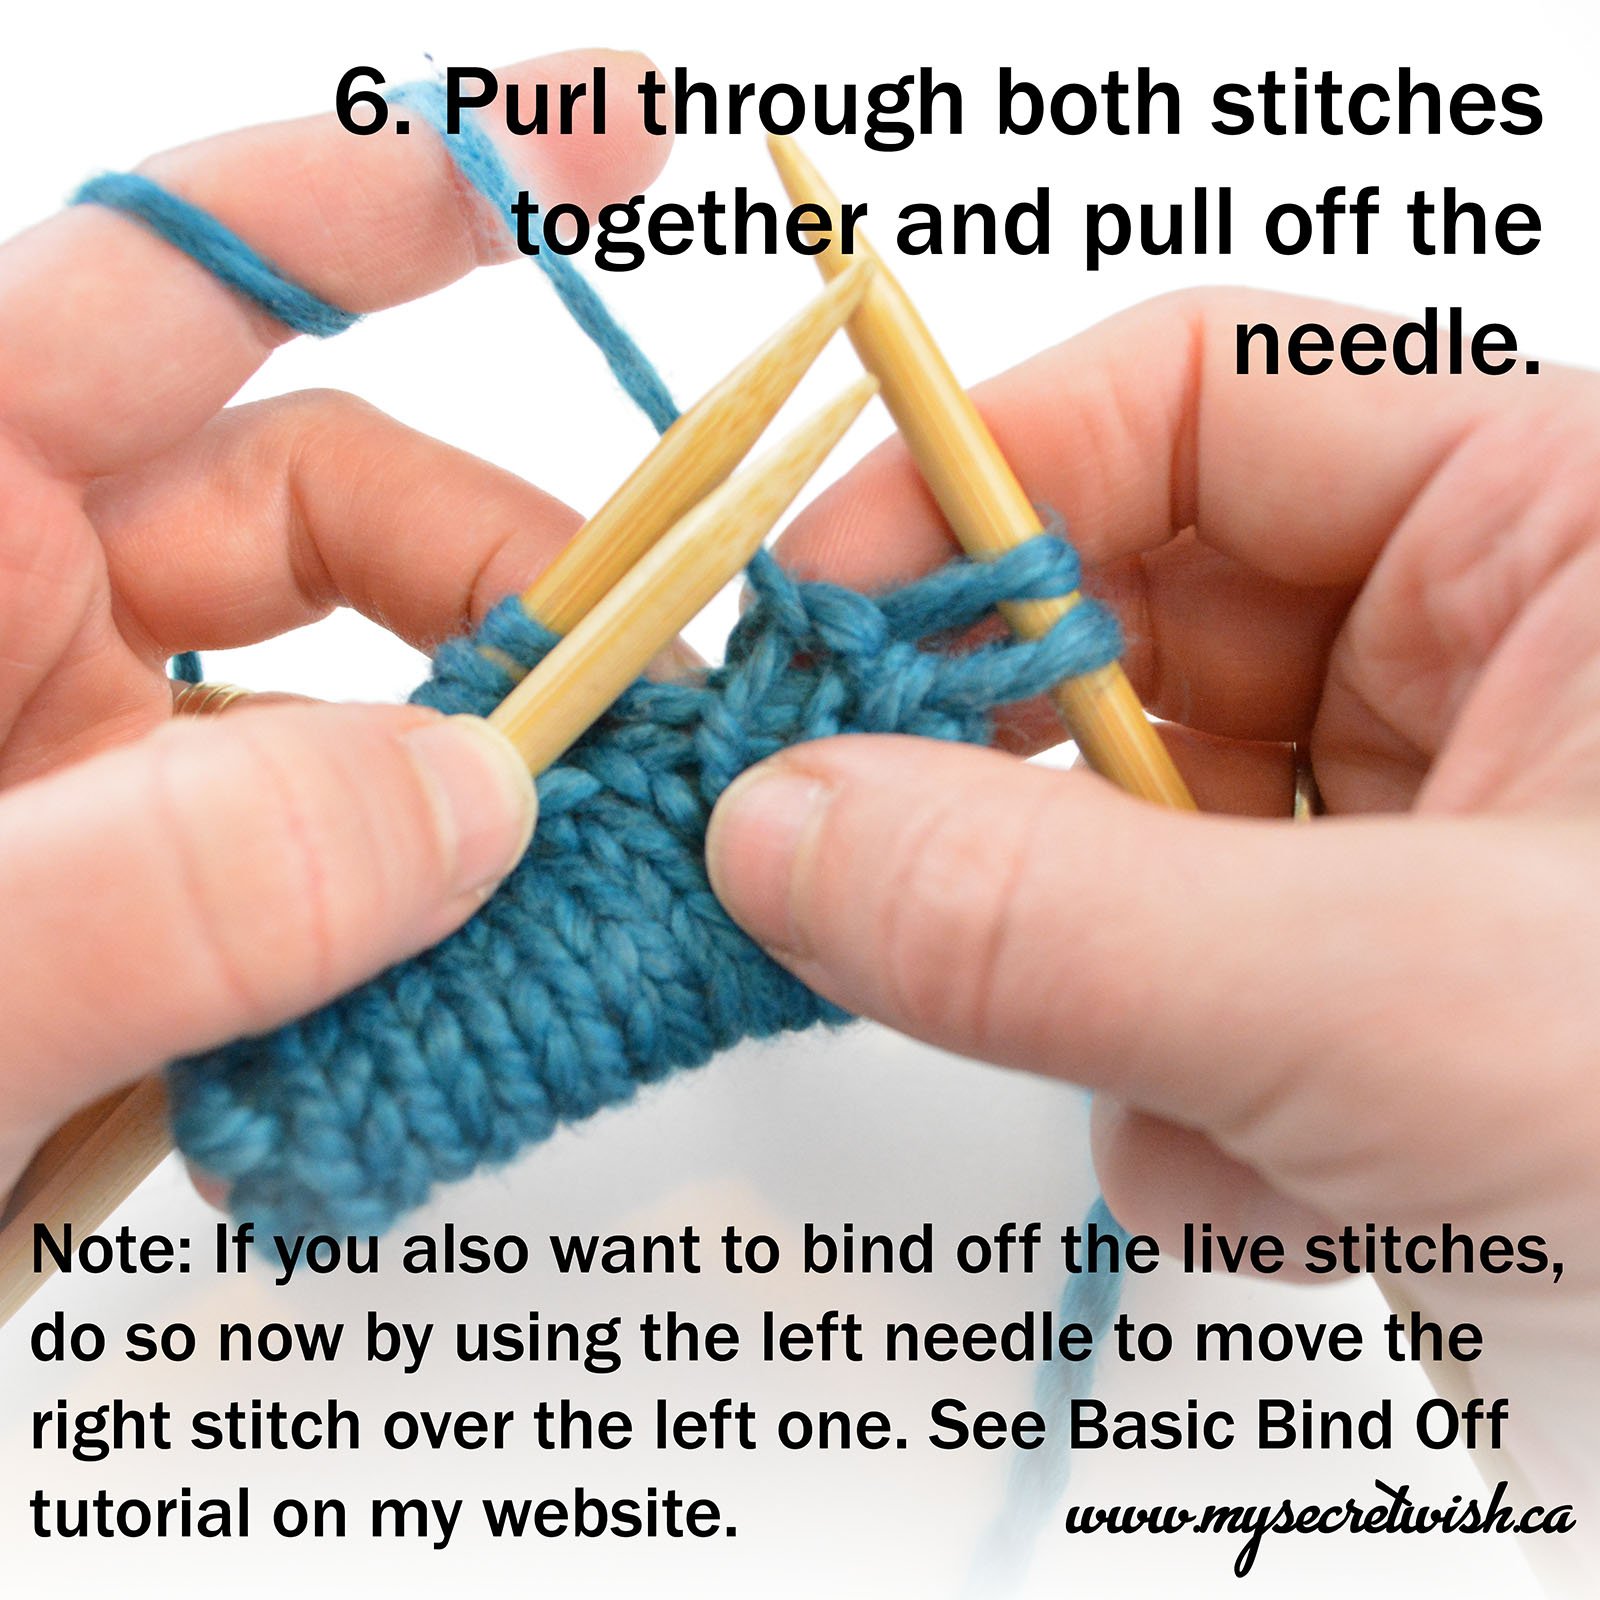
Step Six:
Purl through both stitches together and pull off the needle.
Note: If you also want to bind off the live stitches, do so now by using the non-working needle to move the first stitch on the working needle over the newest one and the tip of the working needle before dropping. See my Basic Bind Off tutorial for more.

Step Seven:
Continue until all stitches have been worked. The knit one, purl one (k1, p1) bind off shown here would be good for ribbing or seed stitch.
(The k1, p1 in this swatch was for demonstration purposes only, but it would also make a nice decorative accent on a stockinette folded hem such as you see in the sample.)