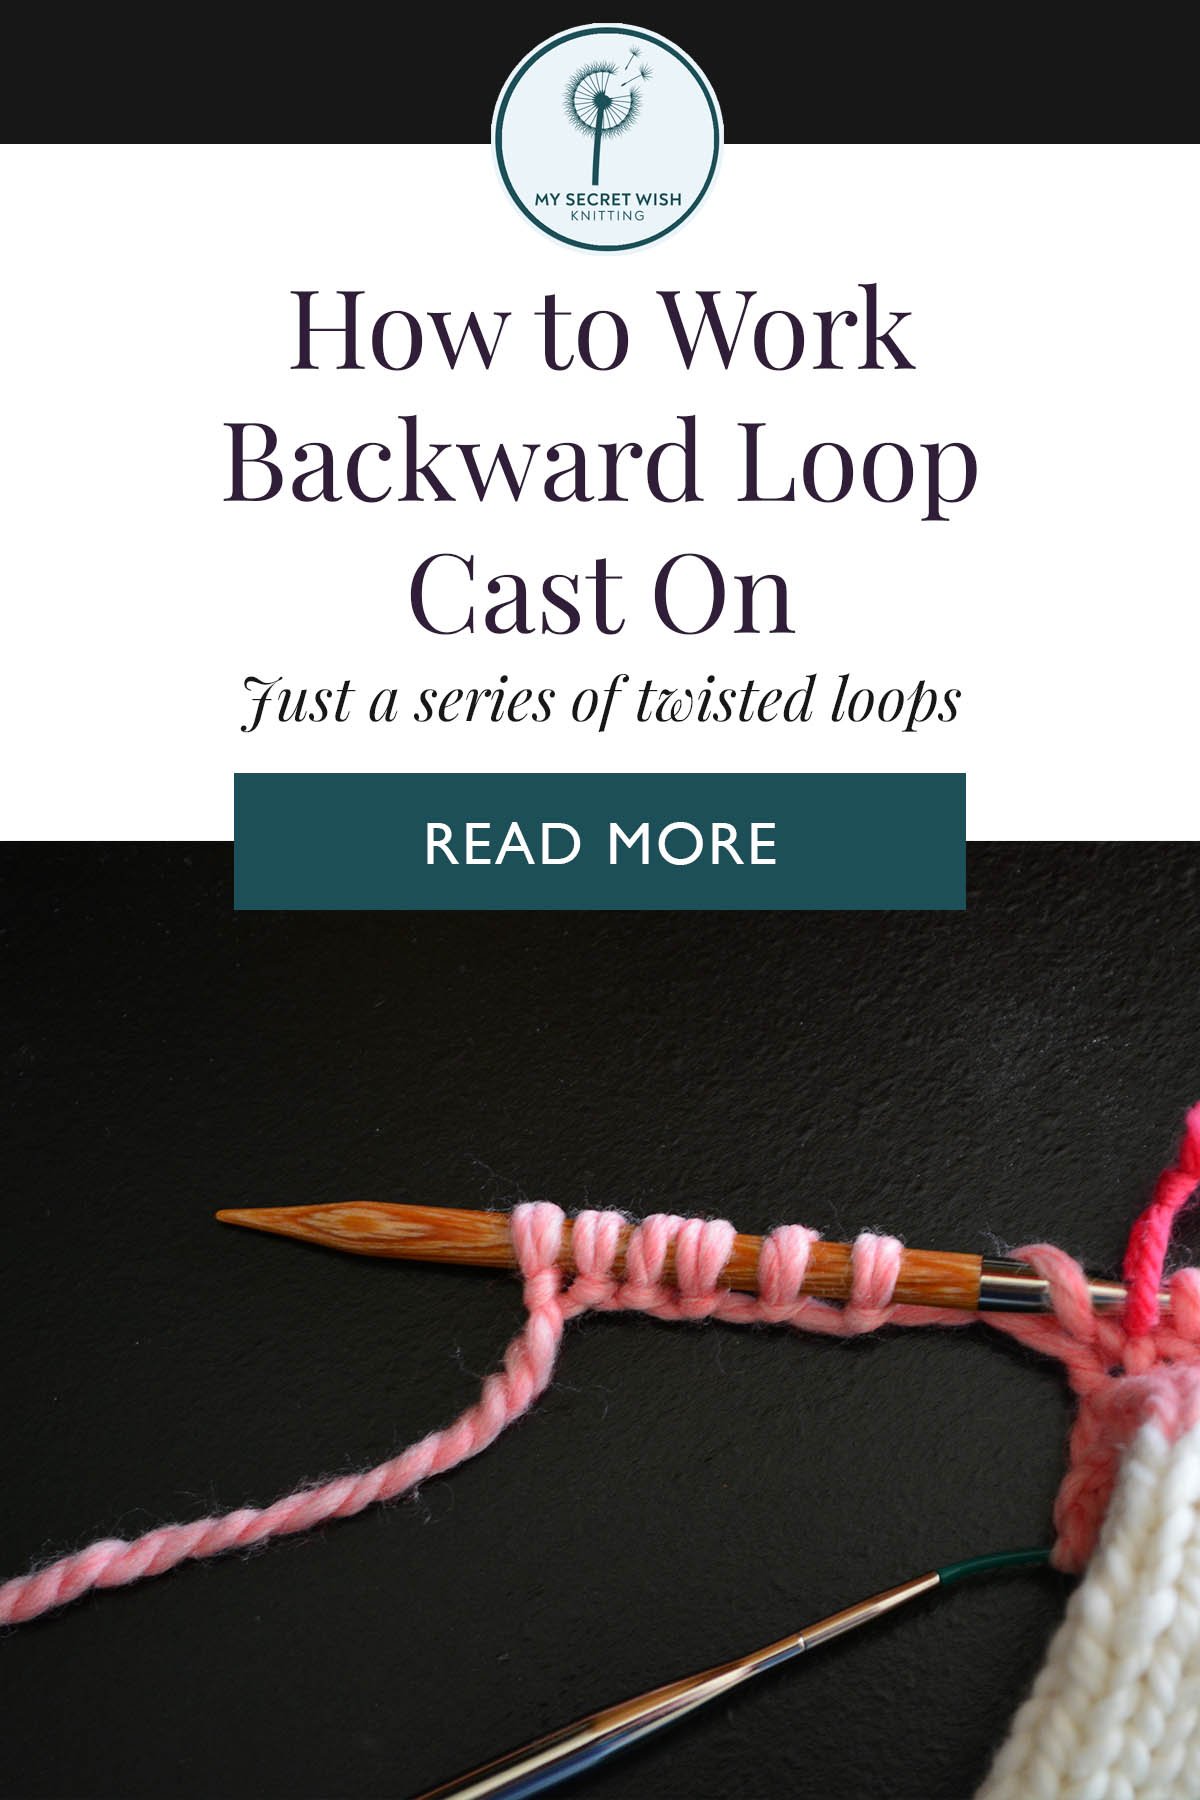
Backward Loop Cast On
Casting on doesn’t get easier than a series of twisted loops.
This cast on is ideal for places where you only need to cast on a single stitch, such as closing up the gap over a thumb gusset or glove finger, or for adding a few stitches to shape fabric for an armhole. It’s very easy to teach to children, but it it has drawbacks: when casting on multiple stitches, it tends to create too much extra yarn between stitches and the gauge is usually unlike the rest of the piece. The stitches usually end up very tight and difficult to knit into also.
If you’re looking to cast on multiple stitches for a starting edge, a better basic go-to cast on is probably the Knit Cast On or the Long Tail Cast On.
You may also want to check out the tutorial for How to Make a Slip Knot.
How to do it:
Basic Principle: You will be creating successive twisted loops on a single needle.
Step One:
Create a slip knot. Place on the needle and tighten until it is snug, but not too tight.
Step Two:
Hold the needle with the slip knot in your non-dominant hand. With your dominant hand, use the ball end of the yarn to create a loop by twisting the yarn over itself with the end leading to the ball on top of the one leading to the needle. Keep the loose tail end out of the way.
Step Three:
Slip this loop onto the needle with the top yarn facing the previous stitch. Tug on the ball end of the yarn to tighten but leave a narrow gap between stitches (about the same width as your yarn).
Repeat until you have the necessary number of cast-on stitches.
Pro tip:
You can combine steps two and three this way:
Place the needle holding the slip knot in your dominant hand, then trail the yarn leading from the slip knot over your forefinger on the hand not holding the needle. Press the ball end into your palm with your fourth and fifth fingers (ring finger and pinky finger) to create tension.
Use the tip of the needle to catch the yarn from the back of the forefinger (the section between the finger and the palm). Move the needle tip outward to press the hooked yarn against the yarn leading to the needle, creating a loop.
Insert the needle tip farther into the loop while dropping the loop from your forefinger and tugging on the yarn end.
Pick up the yarn with your forefinger in the same manner and repeat.