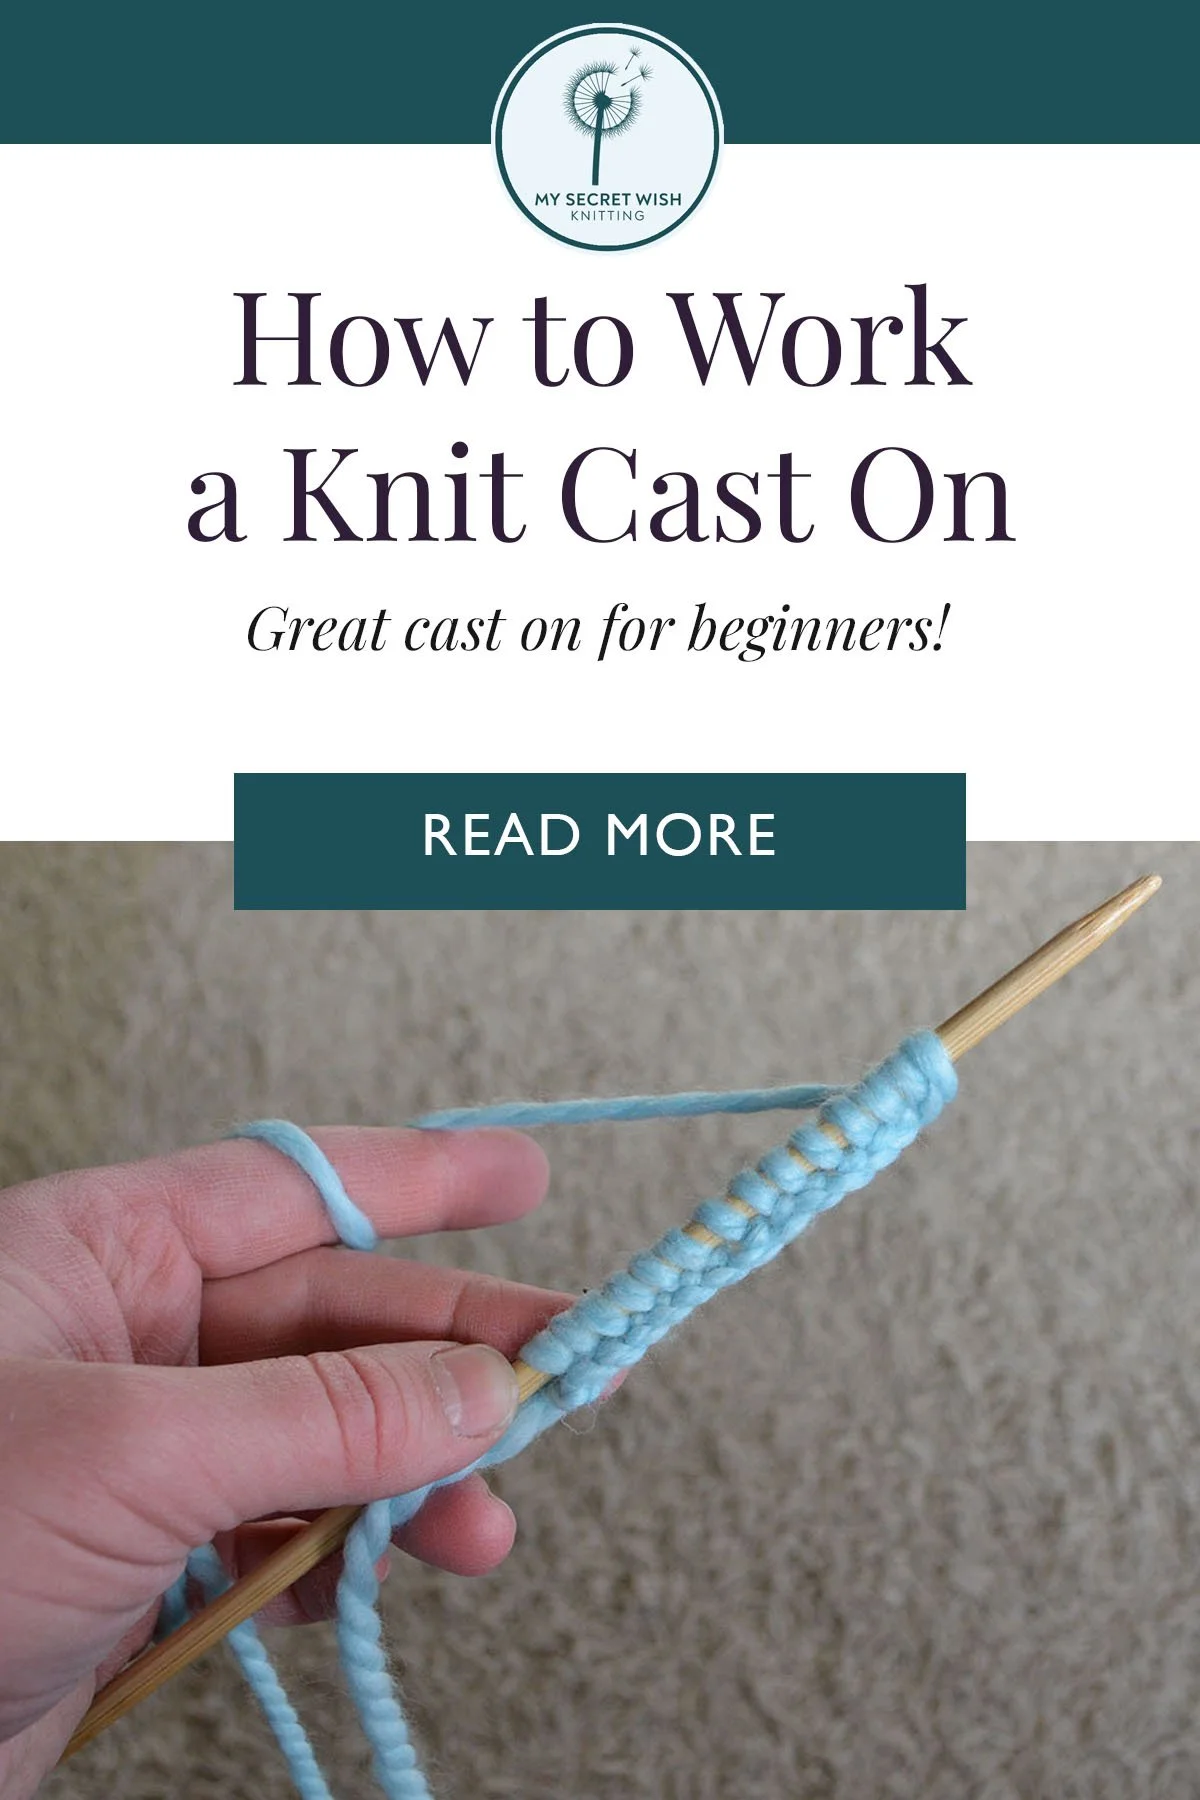
Knit Cast On
Great cast-on for beginner knitters!
The Knit Cast On is an excellent project starter to create firm, stable edges. And since it uses the basic knit stitch to add the loops you need to continue knitting, it’s a perfect “first cast on” for beginner knitters. (Optionally, you could start with Long Tail Cast On.)
Learn this simple technique for beginning your knitting projects and start casting knitting magic today!
Notes:
Make sure to make it loosely, or your cast on edge will be narrower than the rest of your work.
This cast on creates a firm, stable edge, so don't use it for edges that need to stretch. (If you’re working on a stretchy edge, I recommend the Super Stretchy Cast On.)
To get started, you’ll need a slip knot. See my tutorial for How to Make a Slip Knot for more.
How to do it:
Basic Principle:
You will be creating a cast-on edge by knitting into the previous stitch and then returning the new stitch to the needle holding the work.

Step One:
Create a slip knot and place it on a needle. Tighten, but not too firmly.
Place needle with slip knot in non-dominant hand. Hold the needle so the knot stays on the bottom of the needle.
(I usually grasp the tail of the knot in the third and fourth fingers of my dominant hand, keeping my other two fingers and thumb on that hand free for working. This should work even if you knit American style instead of Continental like me.)
Keep your working yarn (the ball end) behind the needle with the slip knot.

Step Two:
With your working needle in your dominant hand, insert it into the slip knot through bottom of stitch from the non-dominant wrist side outward, behind non-dominant needle. (Righties: from left to right. Lefties: from right to left.)
This is easiest if you hold the non-working needle so it is pointing almost directly away from you to give you easy access to the near side of the stitch.

Step Three:
The two needles should now look like an X with the working needle (in the dominant hand) stuck through the loop behind the other needle (non-dominant hand). The working yarn (ball end) should be coming from the knot at the bottom of the slip knot behind the two needles, and should be pulled taut.
(Note: The pictures show Continental style knitting. If you knit American style, the yarn won’t be being held up behind the needles as pictured, but when you do the next step, you will need to move it up behind the needles to execute it.)
Keep the knot of the slip knot pulled to the lower edge of the needle.

Step Four:
Keeping yarn taut, move it between the two crossed needles from the non-dominant wrist side outward. Pull yarn down between the needles.
(For American style: You will first move the yarn around behind the back needle, then execute this step. Make sure the yarn passes between the two needles from the side closest to your non-dominant hand outward.)

Step Five:
Keeping needles at right angles and keeping working yarn taut, drag tip of working needle across bottom of other needle to bring working yarn back through the loop toward the front, creating a new loop on the working needle.

Step Six:
You should now have a new loop of yarn on the working needle that is coming from the original loop you dragged it through on the other needle.
Make sure this loop is not too tight. You can tighten it up on the next step, if necessary.

Step Seven:
Transfer the new stitch from the working needle onto the other needle. (Righties: Onto the left needle. Lefties: Onto the right needle.)
Use your middle finger on your non-dominant hand to prevent the previous stitch from being absorbed into the new one while you tighten the new stitch, allowing a slight gap to remain between the new stitch and the previous one. You have just cast on one new stitch.
You can let go of the previous stitch once you have inserted your needle into the new one to create your next cast-on stitch.
Step Eight:
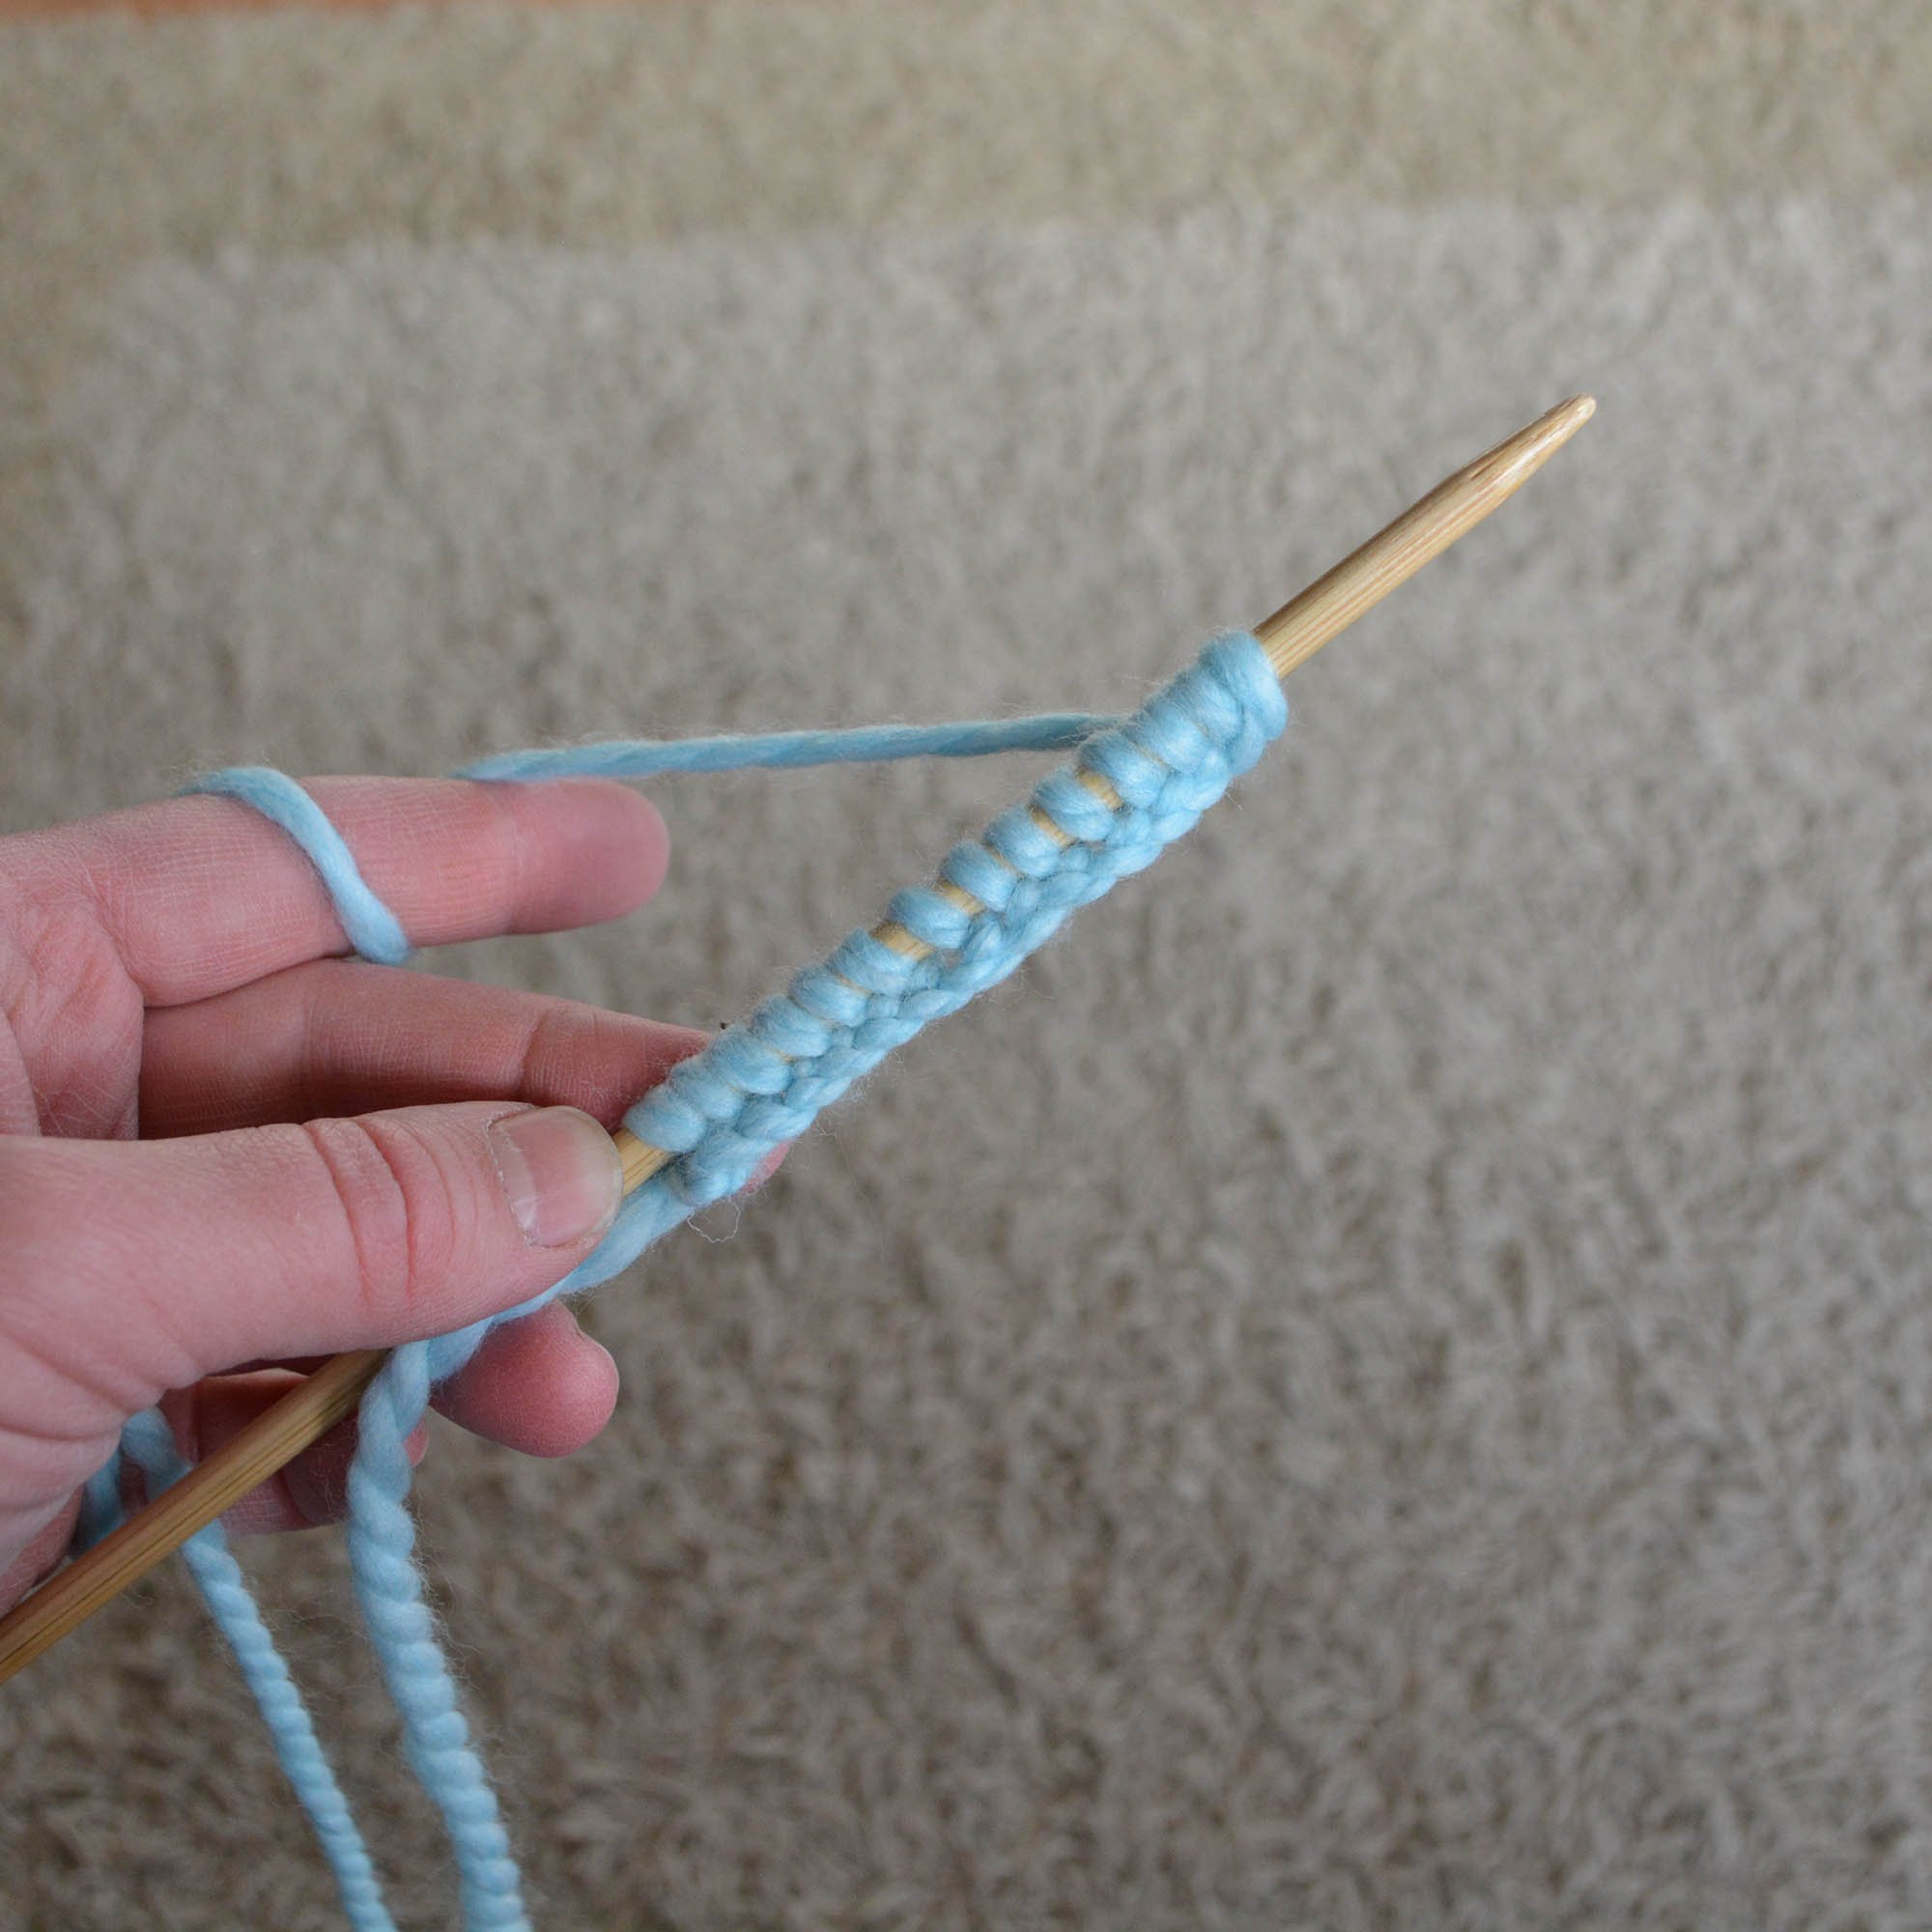
Repeat from Step Two until the correct number of cast-on stitches has been reached.