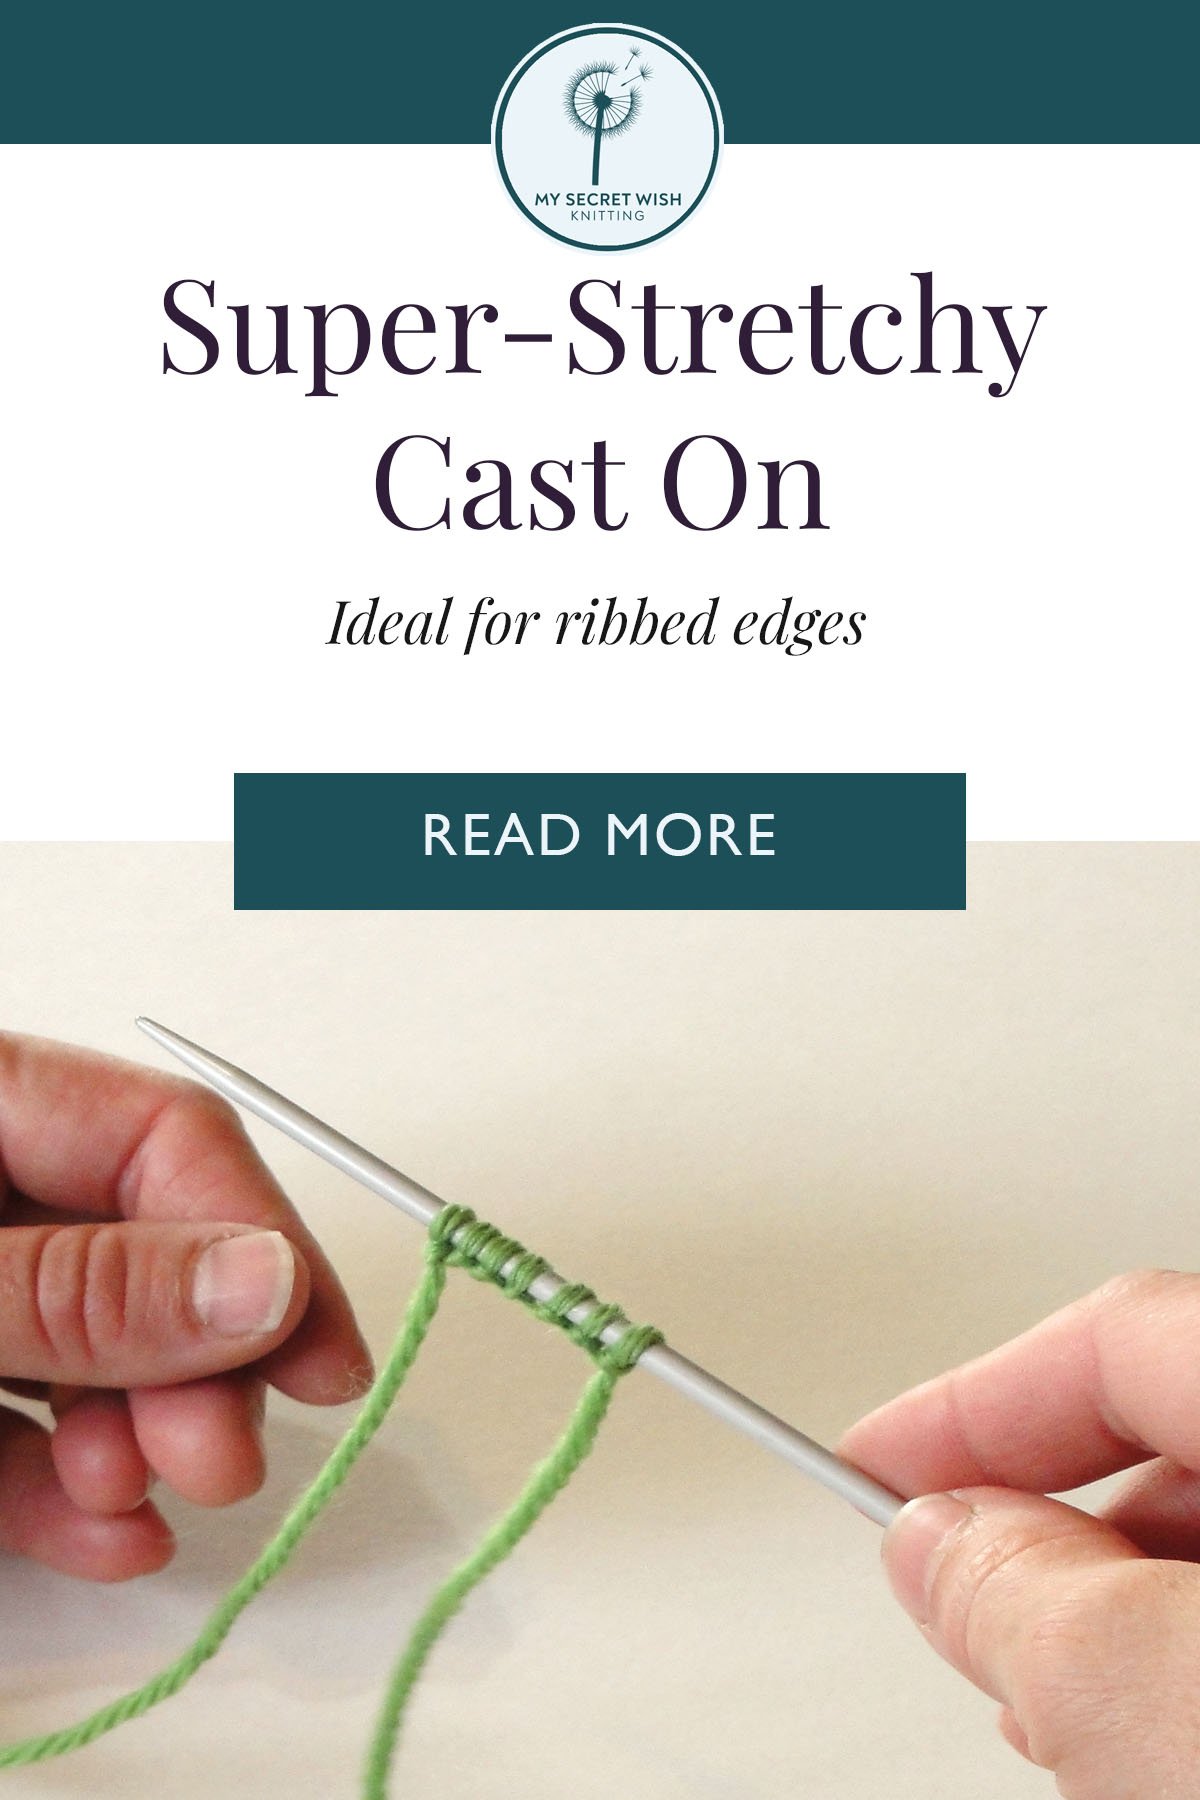
Super-Stretchy Cast On
An elastic cast on that’s ideal for ribbed edges
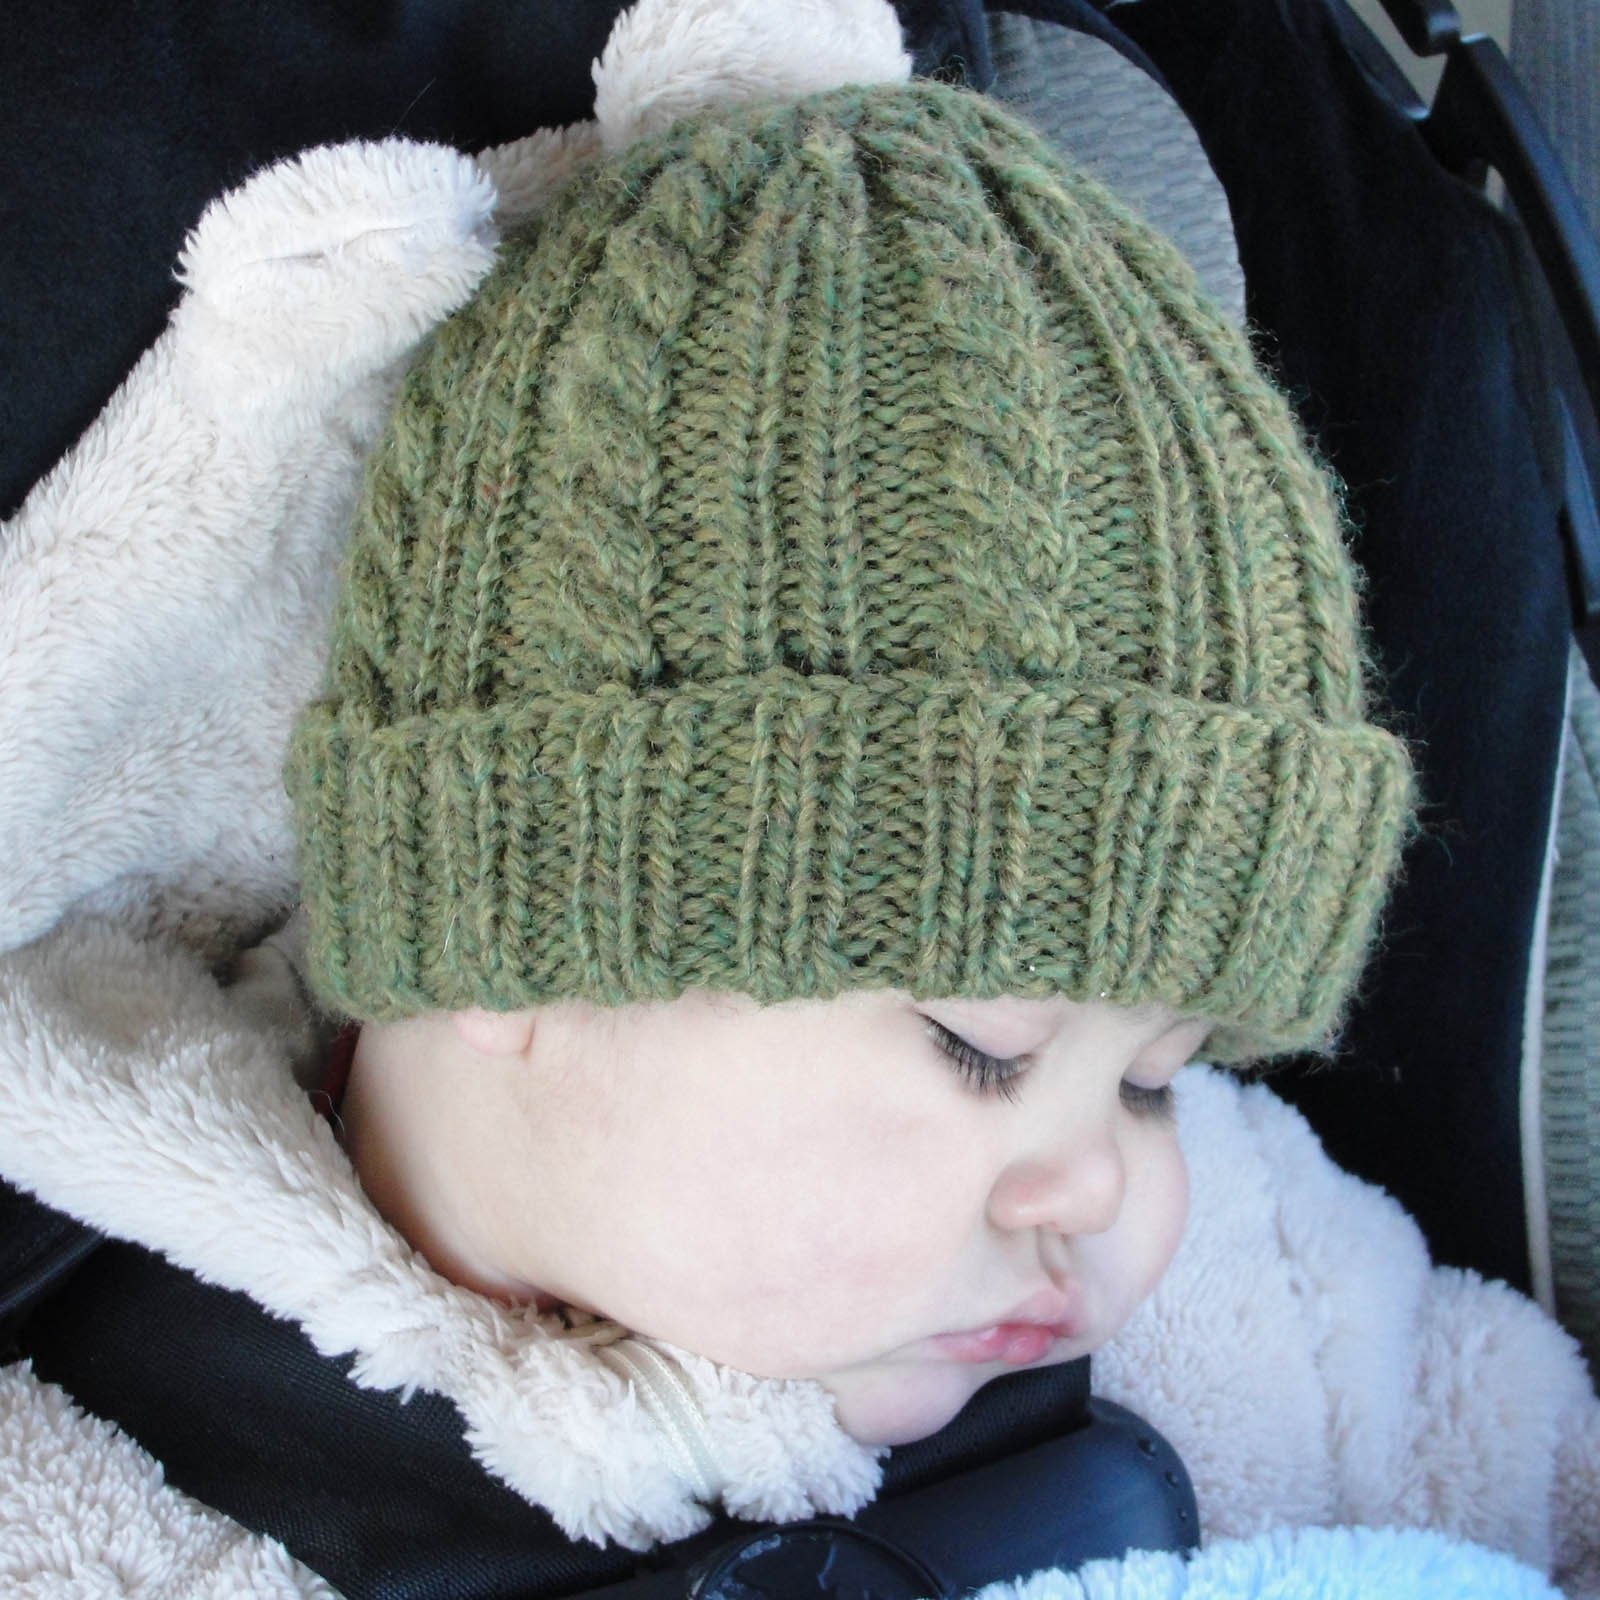
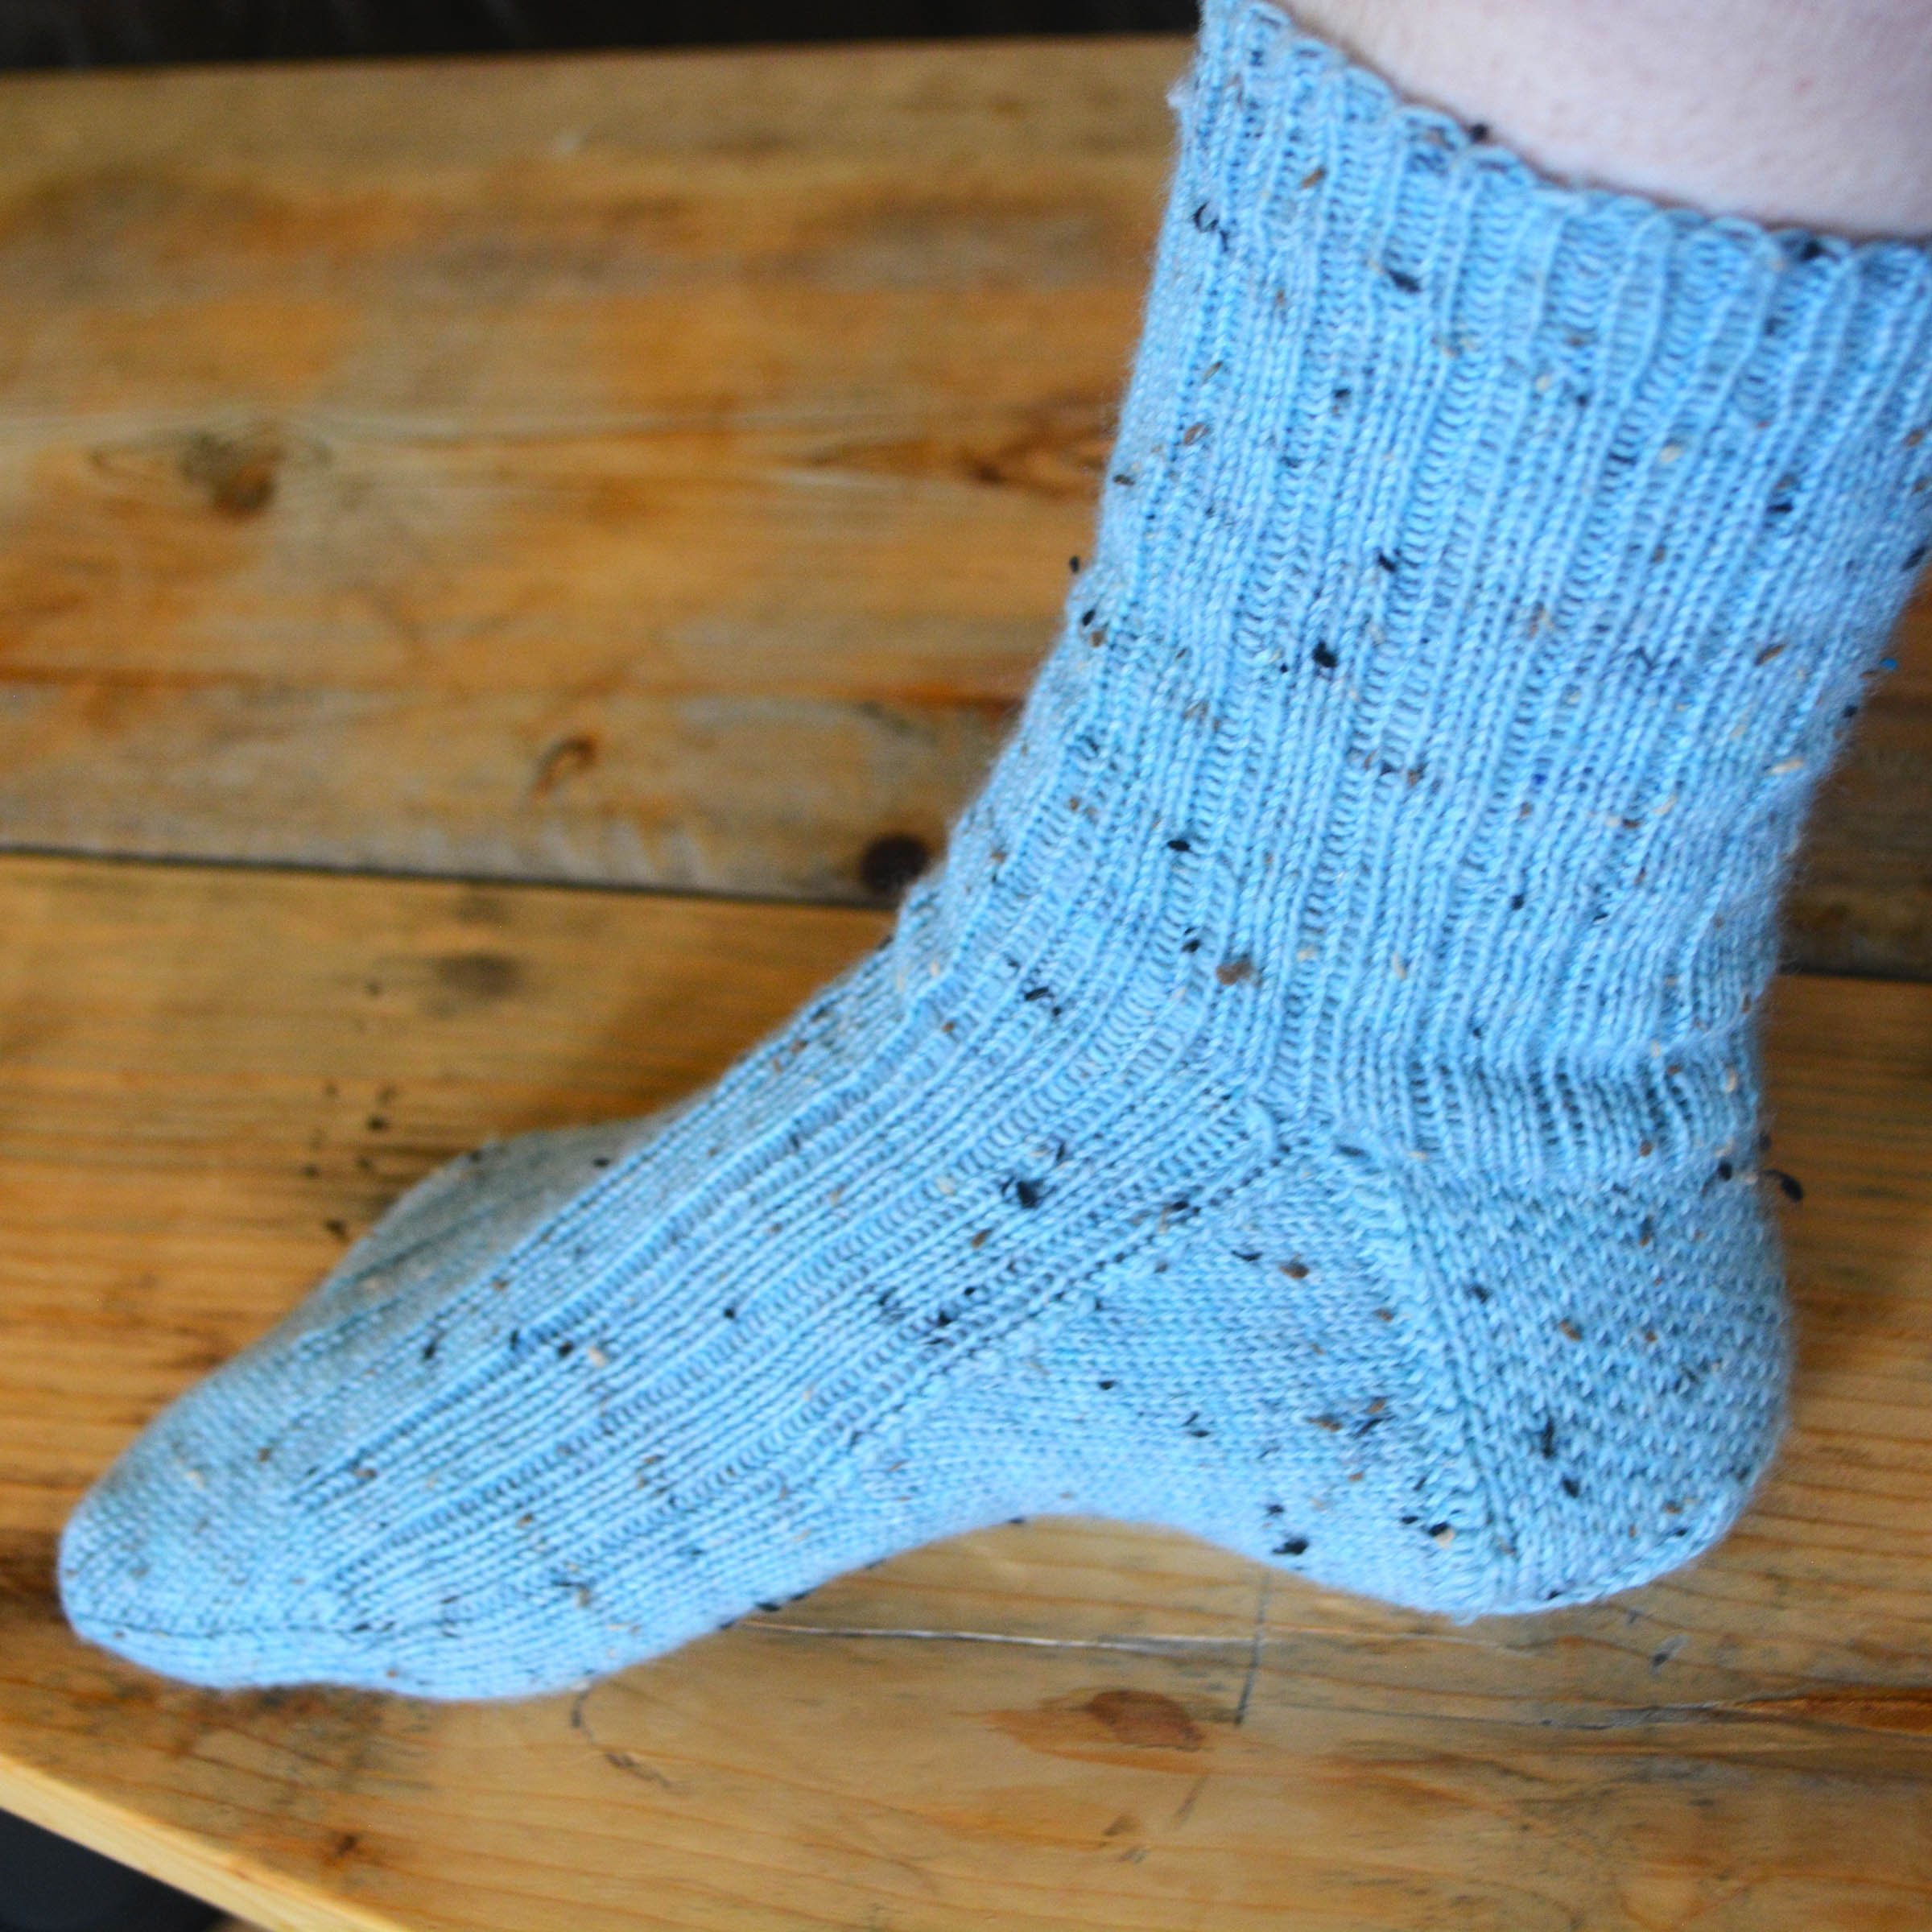
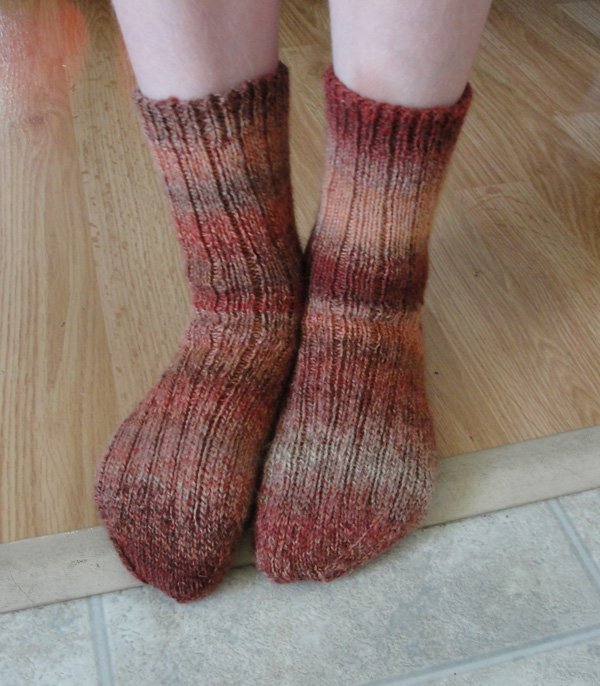
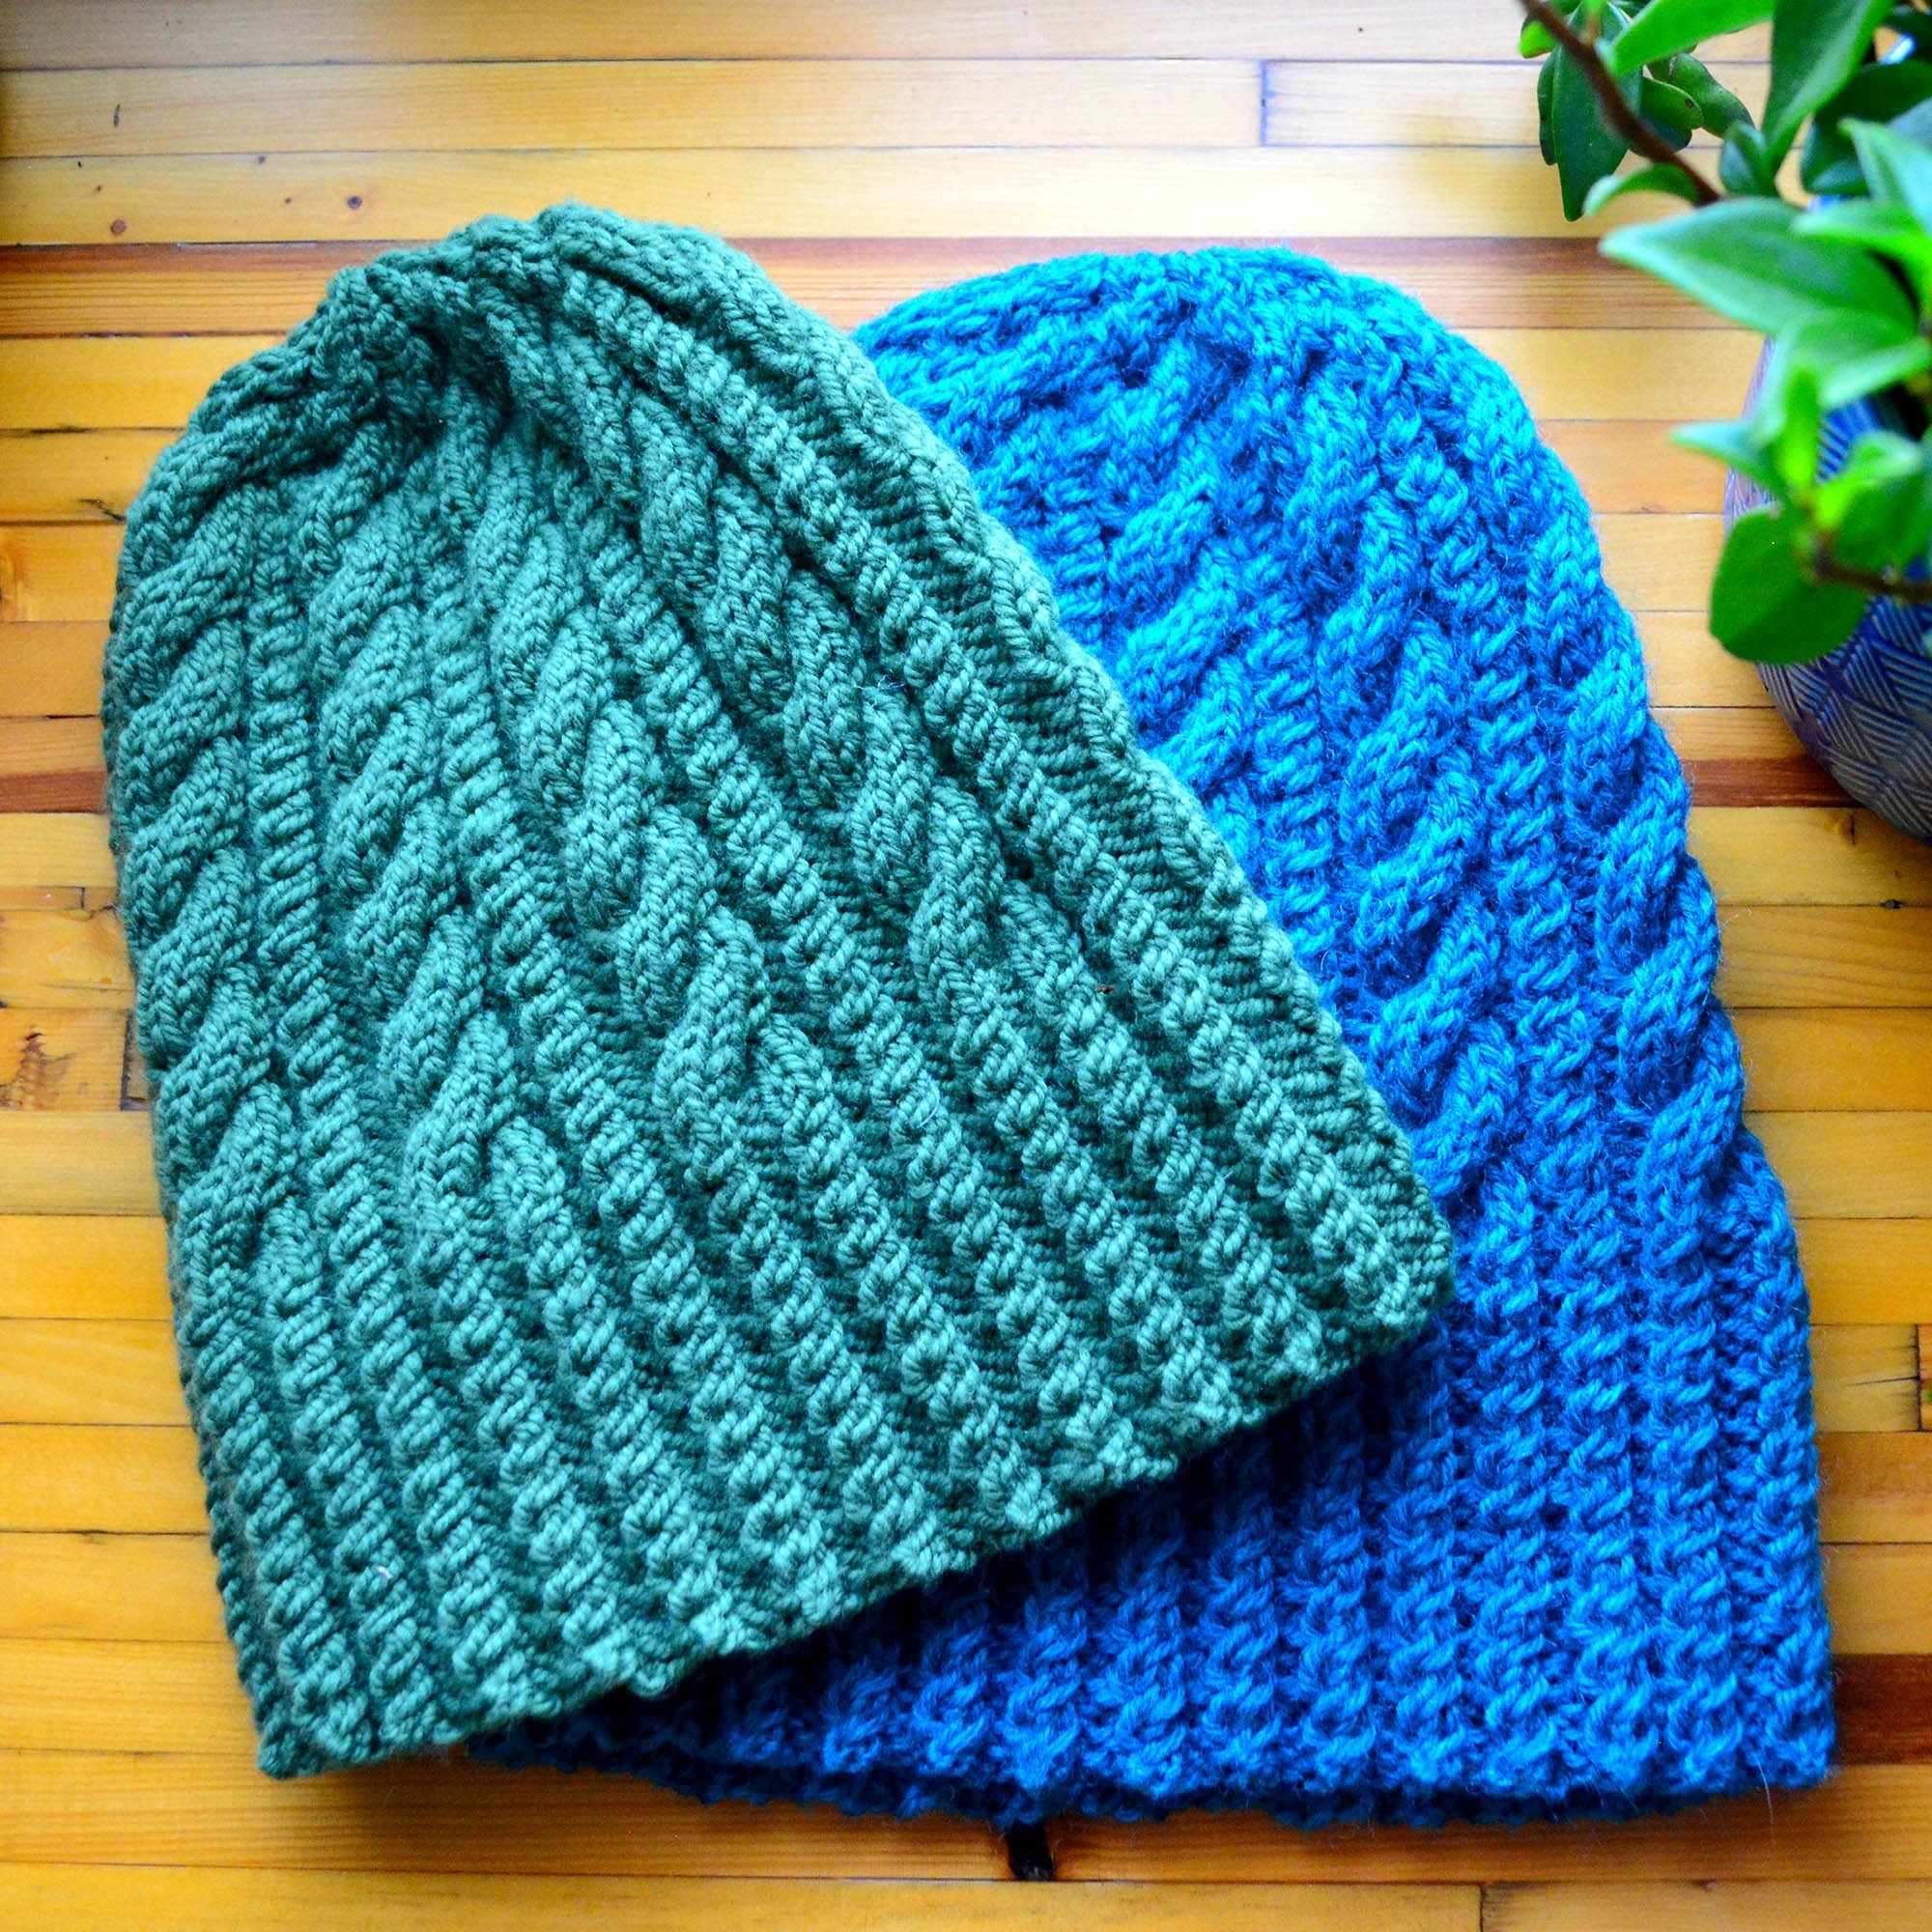
When you're casting on for a project that needs a deeply stretchy edge, the solution is to use the Super-Stretchy Cast On. This slip-knot cast on is perfect for the brims of ribbed hats, mittens, gloves, socks, sweater hems, neck edges, and any other one-by-one ribbed edge in knitting. Check out my easy-to-follow tutorial and start casting on ribbed edges like a pro today!
Note:
This cast on is amazing with a smooth yarn on any ribbed edge, but does not work well for nubby or boucle yarns.
It works best on one-by-one rib, okay on two-by-two rib, and it’s not recommended for three-by-three or larger ribs.
This cast on was invented by Jeny Staimon, and is also known as Jeny’s Stretchy Slip-Knot Cast On. (Link goes to original video on YouTube.)
How to do it:
Text included in the images is written out below each step to make this Low Vision Accessible. Instructions on the images are for right-handed people. Instructions in the written text is non-hand specific.
Basic Principle:
You will be creating a series of successive slip knots to create a very stretchy edge.

Step One:
Hold the yarn tail and one double-pointed needle in your dominant hand. The yarn tail should be grasped between your fingers to keep it taut, leaving your thumb and fingers free to maneuver the needle.
Press the ball end of the yarn against the palm of your non-dominant hand with the fourth and fifth fingers. Shape the thumb and index finger of your non-dominant hand into a U. The yarn should come from your palm, below and around the nail of your thumb, and then wrap around your forefinger to create a loop before going to your dominant hand.
(In the video and many other tutorial videos, she has you start with a regular slip knot instead of this method. If you want to do that, you can see how to make a slip knot here.)

Step Two, Part A:
Using dominant hand, insert needle through loop around index finger from thumb side. (Righties: left to right; Lefties: right to left.)
Move the needle tip toward you, over the yarn being held by thumb, then swing the needle tip down, then up and away from you under the yarn to catch it.

Step Two, Part B:
Keep tension on the loop with the needle and your non-dominant finger-U to keep it open.
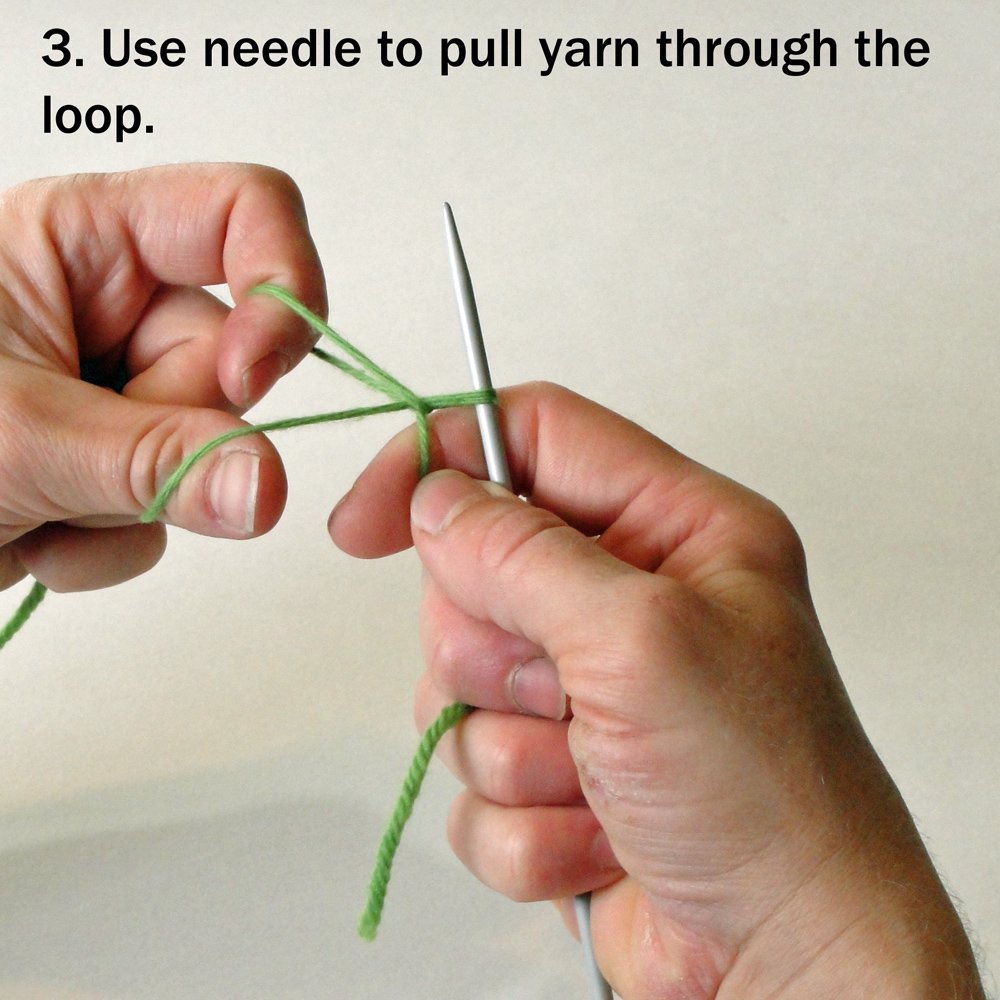
Step Three:
Use the needle to pull the yarn back through the open loop. Keep good tension on the yarn that is over the thumb. Your non-dominant forefinger may twist around to hold the loop while you do this.
The loop will still be hooked around your forefinger, and the yarn tail will be held in your dominant hand while it grasps the needle, which now has a loop of yarn on it going back through the loop which is being held by your non-dominant forefinger.

Step Four:
Release the loop on your non-dominant forefinger, then tug on the ball end of the yarn to pull your new stitch tight around the needle. You have just created one slip knot, which is your first cast on stitch.

Step Five:
Keep the knot part of the slip knot at the bottom of your needle by holding the yarn tail firmly between your dominant hand thumb and forefinger, and hold the needle parallel to this.
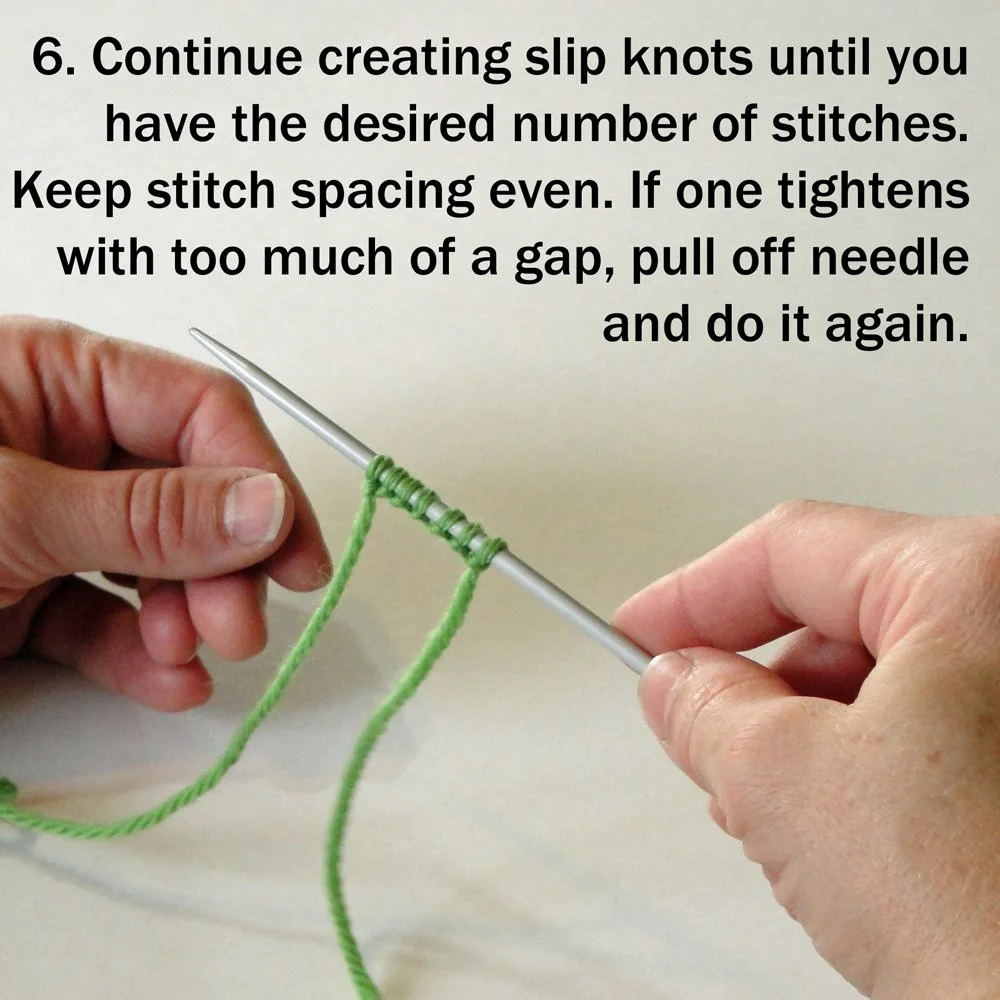
Step Six:
Repeat steps one to four to create successive slip knots until you have created the desired number of stitches.
Keep stitch spacing even. If one tightens with too much of a gap, pull it off the needle and do it again. You want the distance of about a single stitch between each slip knot on your needle.