Reading Your Knitting 2:
Fixing Knitting Mistakes
Understand what snags, dropped stitches, and backward stitches look like and how to fix them.
When you first start knitting, one of the most frustrating parts can be knowing that something is wrong with your work, but not knowing what it is or how to fix it.
Once you know how to recognize these errors, at least the frustration of not understanding what’s going on goes away. The other part? Well, that’s what this tutorial is here to help with.
In this lesson, I’m going to teach you how to recognize if you made a stitch wrong in an unconventional way, as well as other common knitting mistakes that result in fluctuating stitch counts, strange holes, and more.

How should stitches on the needle look?
Before looking at what’s going wrong, you need to understand what your work looks like when it’s right.
Whether you knit English or Continental, your stitches should always lay on your needle in the same way—front leg to the right, back leg to the left—unless you’re working a stitch that purposefully changes these around. (Note for left-handed knitters: these orientations and those throughout this article will be opposite.)
If you follow this path for a properly made stitch, the yarn should be travelling horizontally into its base (which is actually the stitch in the row below it) from the stitch to the left (forming the bar between stitches), then up over the needle from behind on the left, and finally down in front into the top of the base stitch before travelling right to begin the next stitch.
To see this more easily, stretch your work out along the working needle and look at a single stitch. The yarn in the front leg of the stitch will pull slightly to the right of the one behind the needle, which will pull to the left.
This is true of both knit and purl stitches that are made correctly.
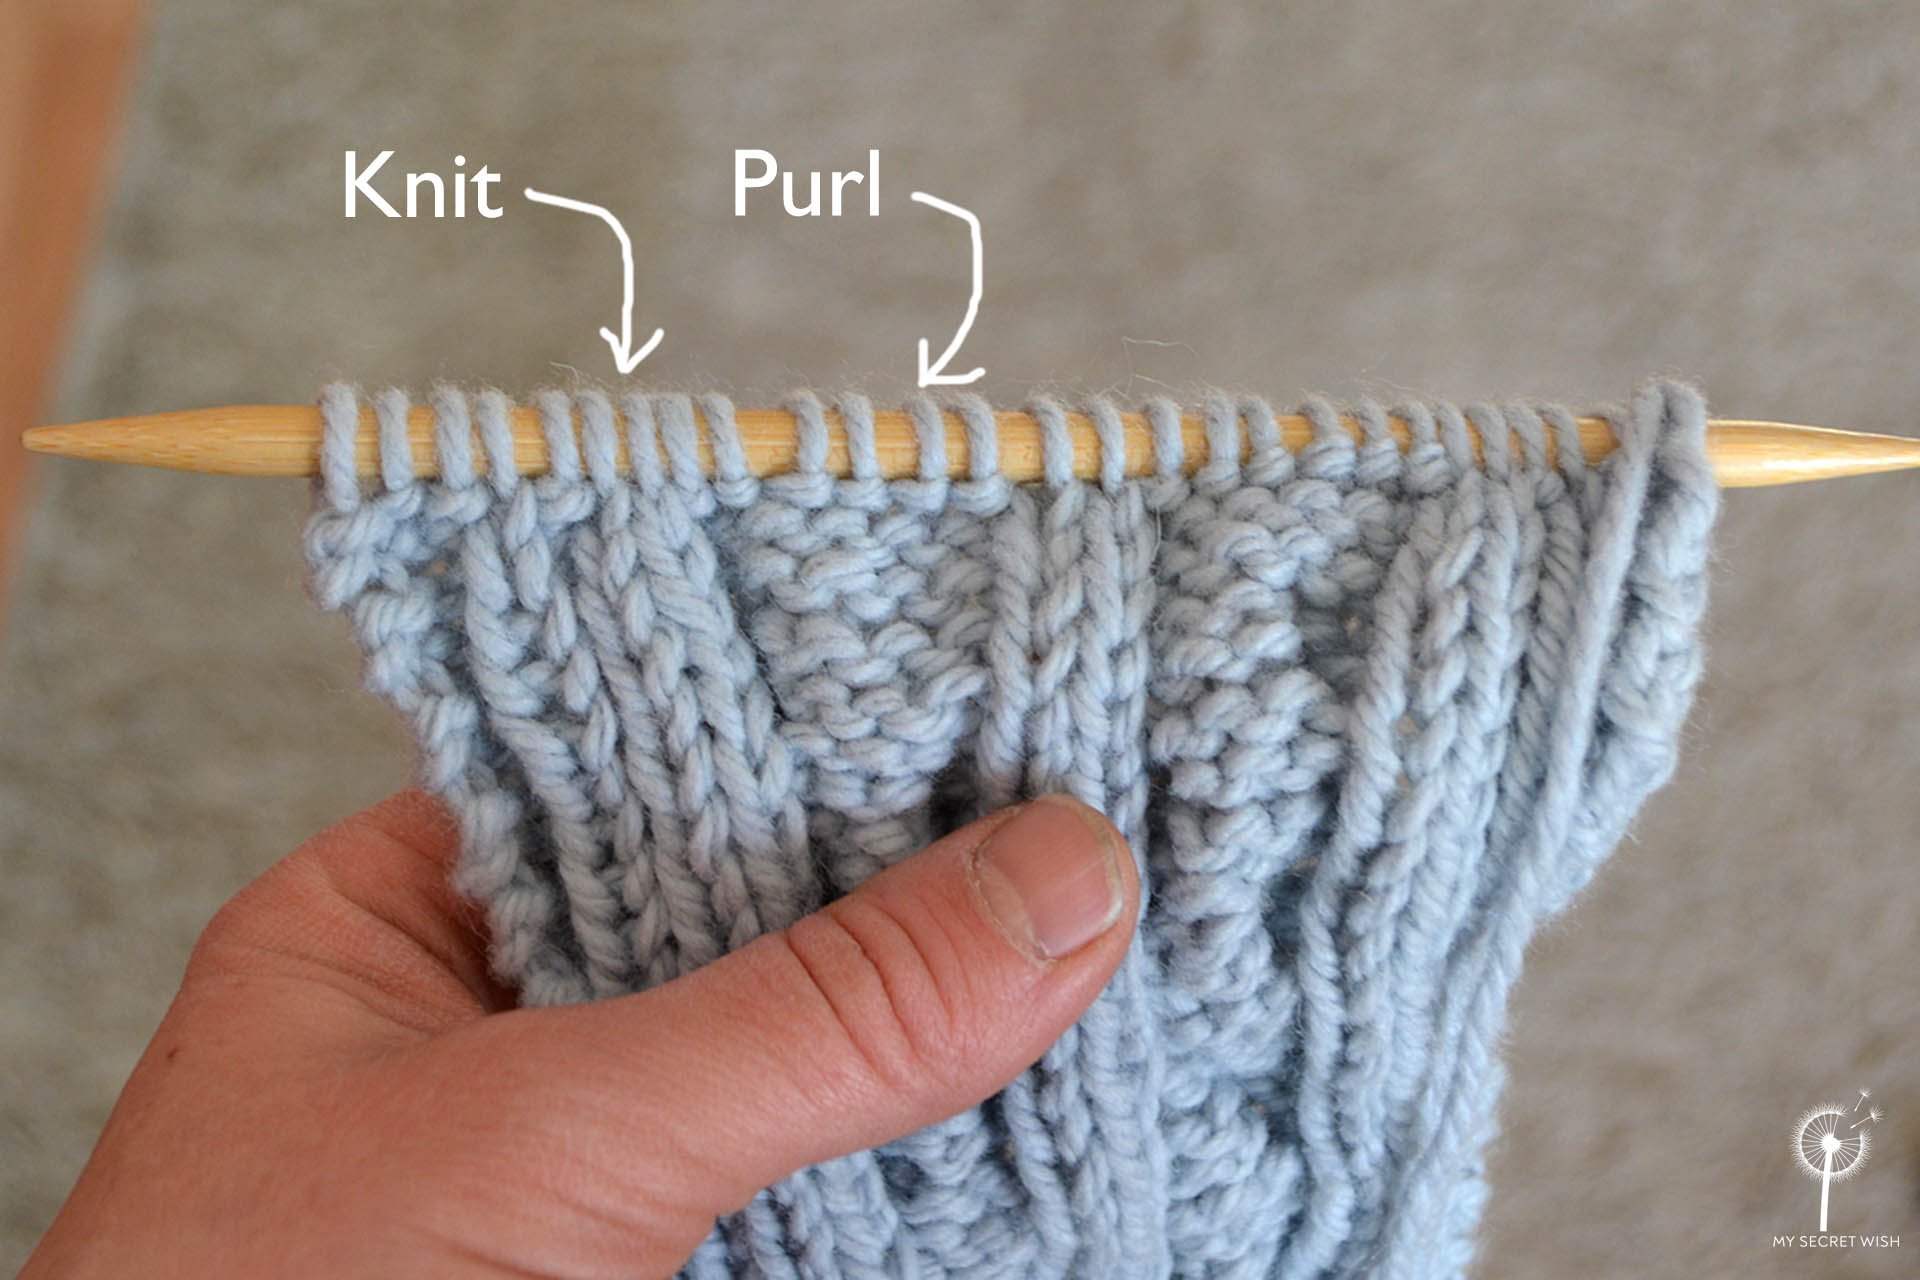
Knits and purls both look the same on the needle.
In addition, there should only be holes where the pattern calls for them, and columns of stitches should only disappear if they’ve been purposefully decreased or bound off.
If your work doesn't look like this, one of the following glitches has probably introduced itself to your project.
But don’t panic!
Just take a deep breath, examine your work, and follow the yarn. Carefully following the path your yarn has taken should help you correct the problem fairly easily. (This is why it is helpful to know what the stitches should look like when done correctly.)
About Yarn Overs:
A yarn over (YO) is a type of increase that moves the yarn over the working needle without creating a stitch. Because it leaves a little hole, it is commonly used to create buttonholes, eyelet lace, or in other places where a decorative hole is desired.
Unless specifically directed to do otherwise, most yarn overs should still have the front leg on the right. However, even this “normal” yarn over will make a strange-looking stitch that seems to be angled a little too much, since it is coming directly from the previous stitch and going directly to the next one with no intermediary stops into the stitches below.

A yarn over with the right leg in front. It lays at a slightly more acute angle than the surrounding stitches.
If you actually meant for there to be a yarn over there, that's how you know where you put it when you’re counting stitches on your needle.
But what if your stitches look like this and you have no recollection of there being a yarn over in your pattern, let alone the row you just worked?
Well, that means you have a Snag.
How Good Knitting Goes Bad
“The Snag” or Accidental Yarn Over:
How it looks: Exactly the same as a normal yarn over, and it will make your knitting get wider when you don’t intend it to
Cause: Your needle picked up the bar.
I'm sure there's a joke in that line somewhere: “Two needles and a crochet hook walked into a bar… yada yada… If you're gonna snag my yarn over, it better be on purpose!” Okay, maybe not.
Sometimes your needles can accidentally catch the bar between stitches while you are working. If you’re not careful, these little YOs will sneak into your row so stealthily that you won’t even notice the underage minor getting a little too comfy on the dance floor until you’re thirty rows on and your scarf is three inches wider than when you started and your stitch counts aren't adding up properly. (Unless you have a short-repeat texture pattern that makes it obvious by the end of the next row.)

What a snagged stitch (accidental yarn over) looks like: no column of stitches below, front leg on the right. Often found at the end of double-pointed needles when working in the round.

Reverse accidental yarn overs are similar, except the front leg is on the left, which makes them even easier to spot.
On the first row above where the precocious new stitch snuck in, it looks just like a yarn over. And—unless you notice it—will act like one, increasing your stitches all willy-nilly.
This type of Snag is especially common when working with double-pointed needles that are a little short for the number of stitches on them. The back end of the needle can catch the bar and pick it up without you even noticing (at least until you get back around to it).
How to Fix It:
Really, a yarn over is just picking up the bar on purpose. In the case of a real yarn over, though, extra yarn is used and just dropping it would create a weird, gooshy spot in the knitting (which is a technique sometimes used to good effect in certain dropped-stitch designs).
Fortunately, with an accidental YO, you can usually drop the extra stitch off the needle like last week’s gossip and have your work look just peachy. It might have pulled the yarn from the surrounding stitches, though. In that case, use your fingers or a needle tip to work any extra yarn that was pulled up into the imposter stitch back into the surrounding stitches to prevent that “snagged" look.
“The Snag” 2.0:
How it looks: A lot like a normal stitch, except it pulls the fabric out of shape
Cause: Your needle picked up the bar several rows down

If you look carefully at the image above, you’ll see that the first stitch on the left needle originates in a row several below that current line of working stitches. This type of mistake happens much the same way as a normal Snag, except it looks WAY messier. Therefore, it can be more confusing to figure out what is going on.
The bar that got picked up might have been between stitches, or even the centre of a stitch a couple or more rows below the row you are on.
Remember, follow the yarn. It might be trickier to follow the yarn path with this one, but if you can see that the weird-looking stitch originated several rows down, and there were none below it at all or it’s been grabbed from the centre of an existing column, then you found the origin of your snag.
How to Fix It:
If you haven’t worked any additional stitches into the offender yet, just drop it off the needle, work out any pulled yarn into the surrounding stitches with your fingers or needle tip, and all will be well.
However, once you've worked into this impostor stitch, there is not much to do but rip back to it and drop it off to ensure that you won’t be left with a run of loose yarn for the entire length of the column of stitches above it.

Snagged from row below indicators: There is no row of stitches below the YO, and the yarn is connected to stitches in the previous row, not the top row.
Dropped stitches:
How it looks: When you look at your work, you notice a column of stitches that abruptly ends for no reason or is coming undone
Cause: You dropped a stitch from the needle at some point
This faux pas is usually noticed in one of two ways:
You count your stitches and realize you have less than you should.
You are looking over your work and notice a small loop sticking out of the fabric several rows or inches down at the top of a column of stitches wedged between two others.
Alternatively, you may have a long “run” of stitches that are loosening into a ladder between columns.
How to Fix It:
Sadly, while dropping stitches is easy to do, fixing them is less easy.
The most important first step when you notice a dropped stitch is to prevent it from running any further. Do this by grabbing the stitch, then putting something through it to prevent further deterioration while you fix the problem. A crochet hook, cable needle, or rigid stitch marker work well for this.
From there, the fix depends on how bad it is.
For a stitch you just dropped, the easiest solution is to simply pick the stitch up and place it back on the needle. (Make sure your stitch is laying the right way! See the next section for more on that.)
For a running column of dropped stitches, use a crochet hook to re-create the column, starting from the first intact stitch. (This only works if you’re looking at an unshaped piece of stockinette fabric.)
Stretch the work a little so you can see which of the yarns in the ladder belong to which row, then, from the knit side of the work, create a chain of stitches until you get back up to the working needle and replace the last stitch on the needle.
For a “disappearing” column of stitches, you could try the same technique, but this will mess up your tension and that section of the work will appear puckered. Sadly, the best fix is usually to rip your work back to the dropped stitch and pick it up, then go from there.
[Demonstration photos coming soon.]
Twisted stitches:
How it looks: Your stitches don’t all lay on the needle in the same way
Cause: Your stitch formation technique is likely to blame, especially the way you make purl stitches in reverse stockinette
For years, I knit in a weird “blended” Continental fashion.
This was caused by having my yarn go the so-called wrong way around my working needle when creating purl stitches. This meant that when knitting stockinette, my stitches on the knit side of the work would have the left leg in front instead of the right, which meant it was very hard to knit into them and would result in twisted stitches if I worked into the front leg, as per common wisdom.
For ease of knitting and to make my work look right, I would still knit into the right leg of these twisted stitches, I would just knit into the back loop, essentially untwisting my twisted stitch.
For a decade, I was blissfully unaware that I was doing anything out of the ordinary, although I couldn't figure out why my increases and decreases were so hard to work and always looked strange.


Despite the fact that I found a whole group of Ravellers who purposely use this style of knitting, which is called Combined, I retrained myself to knit “correctly” as soon as I found out, because more complex stitches (like increases and decreases) work better if your stitches are all laying properly. As a budding designer, I needed to know my designs would work the way they were meant to for everyone. And after the initial retraining period, I’ve been thankful to Past Me every time I’ve picked up the needles.
How to Fix It:
If you knit Combined, and are okay with that look, then by all means continue. But if not, check out my tutorial on how to purl and learn the correct technique for wrapping your yarn.

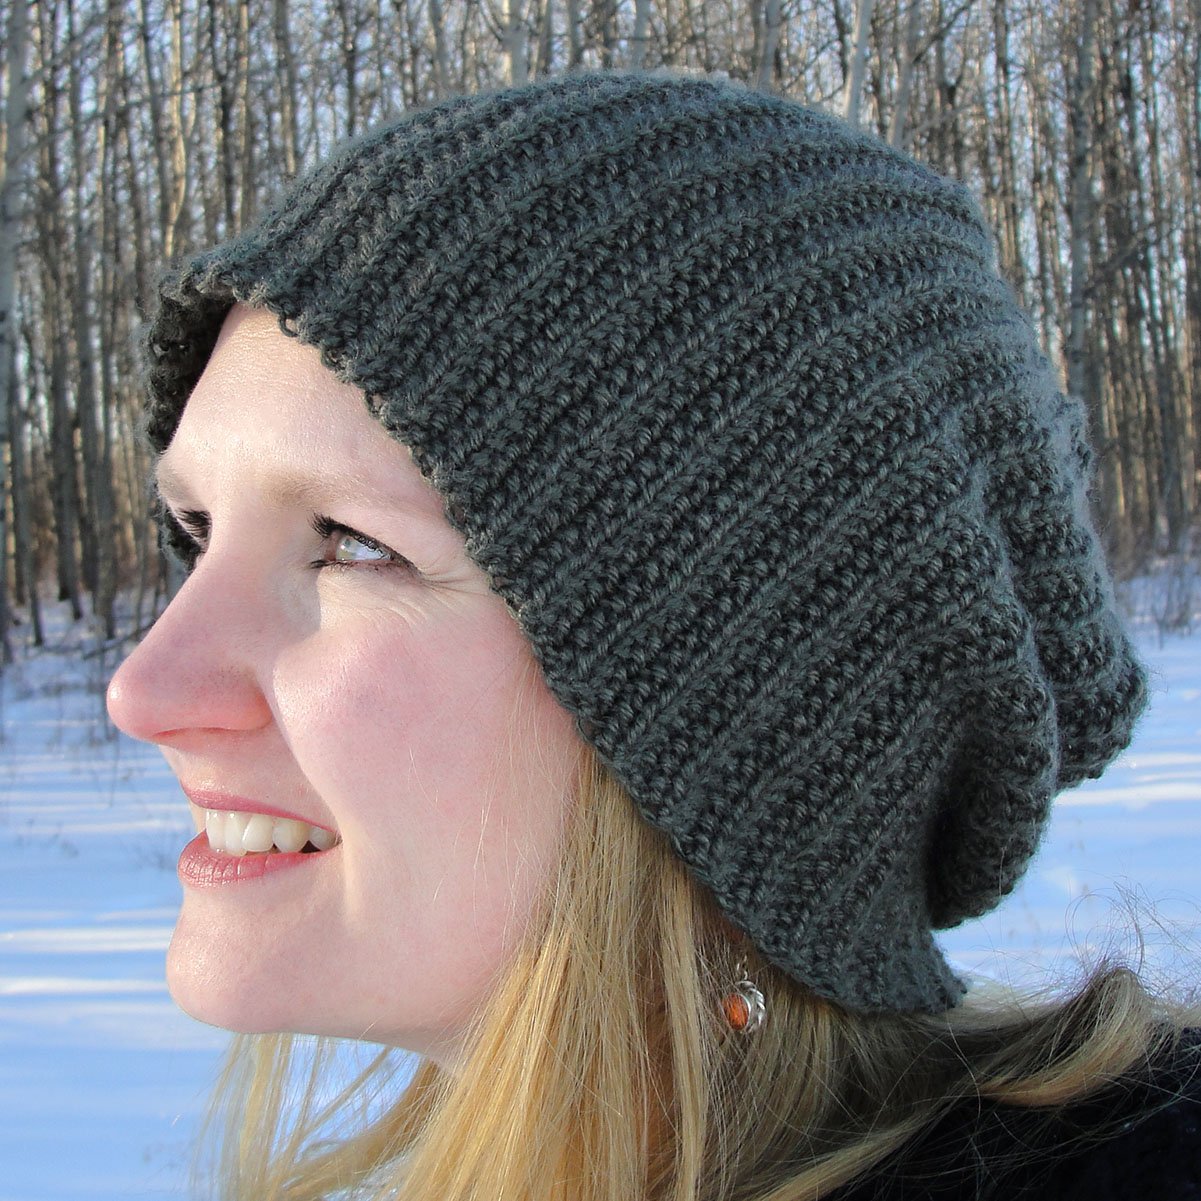
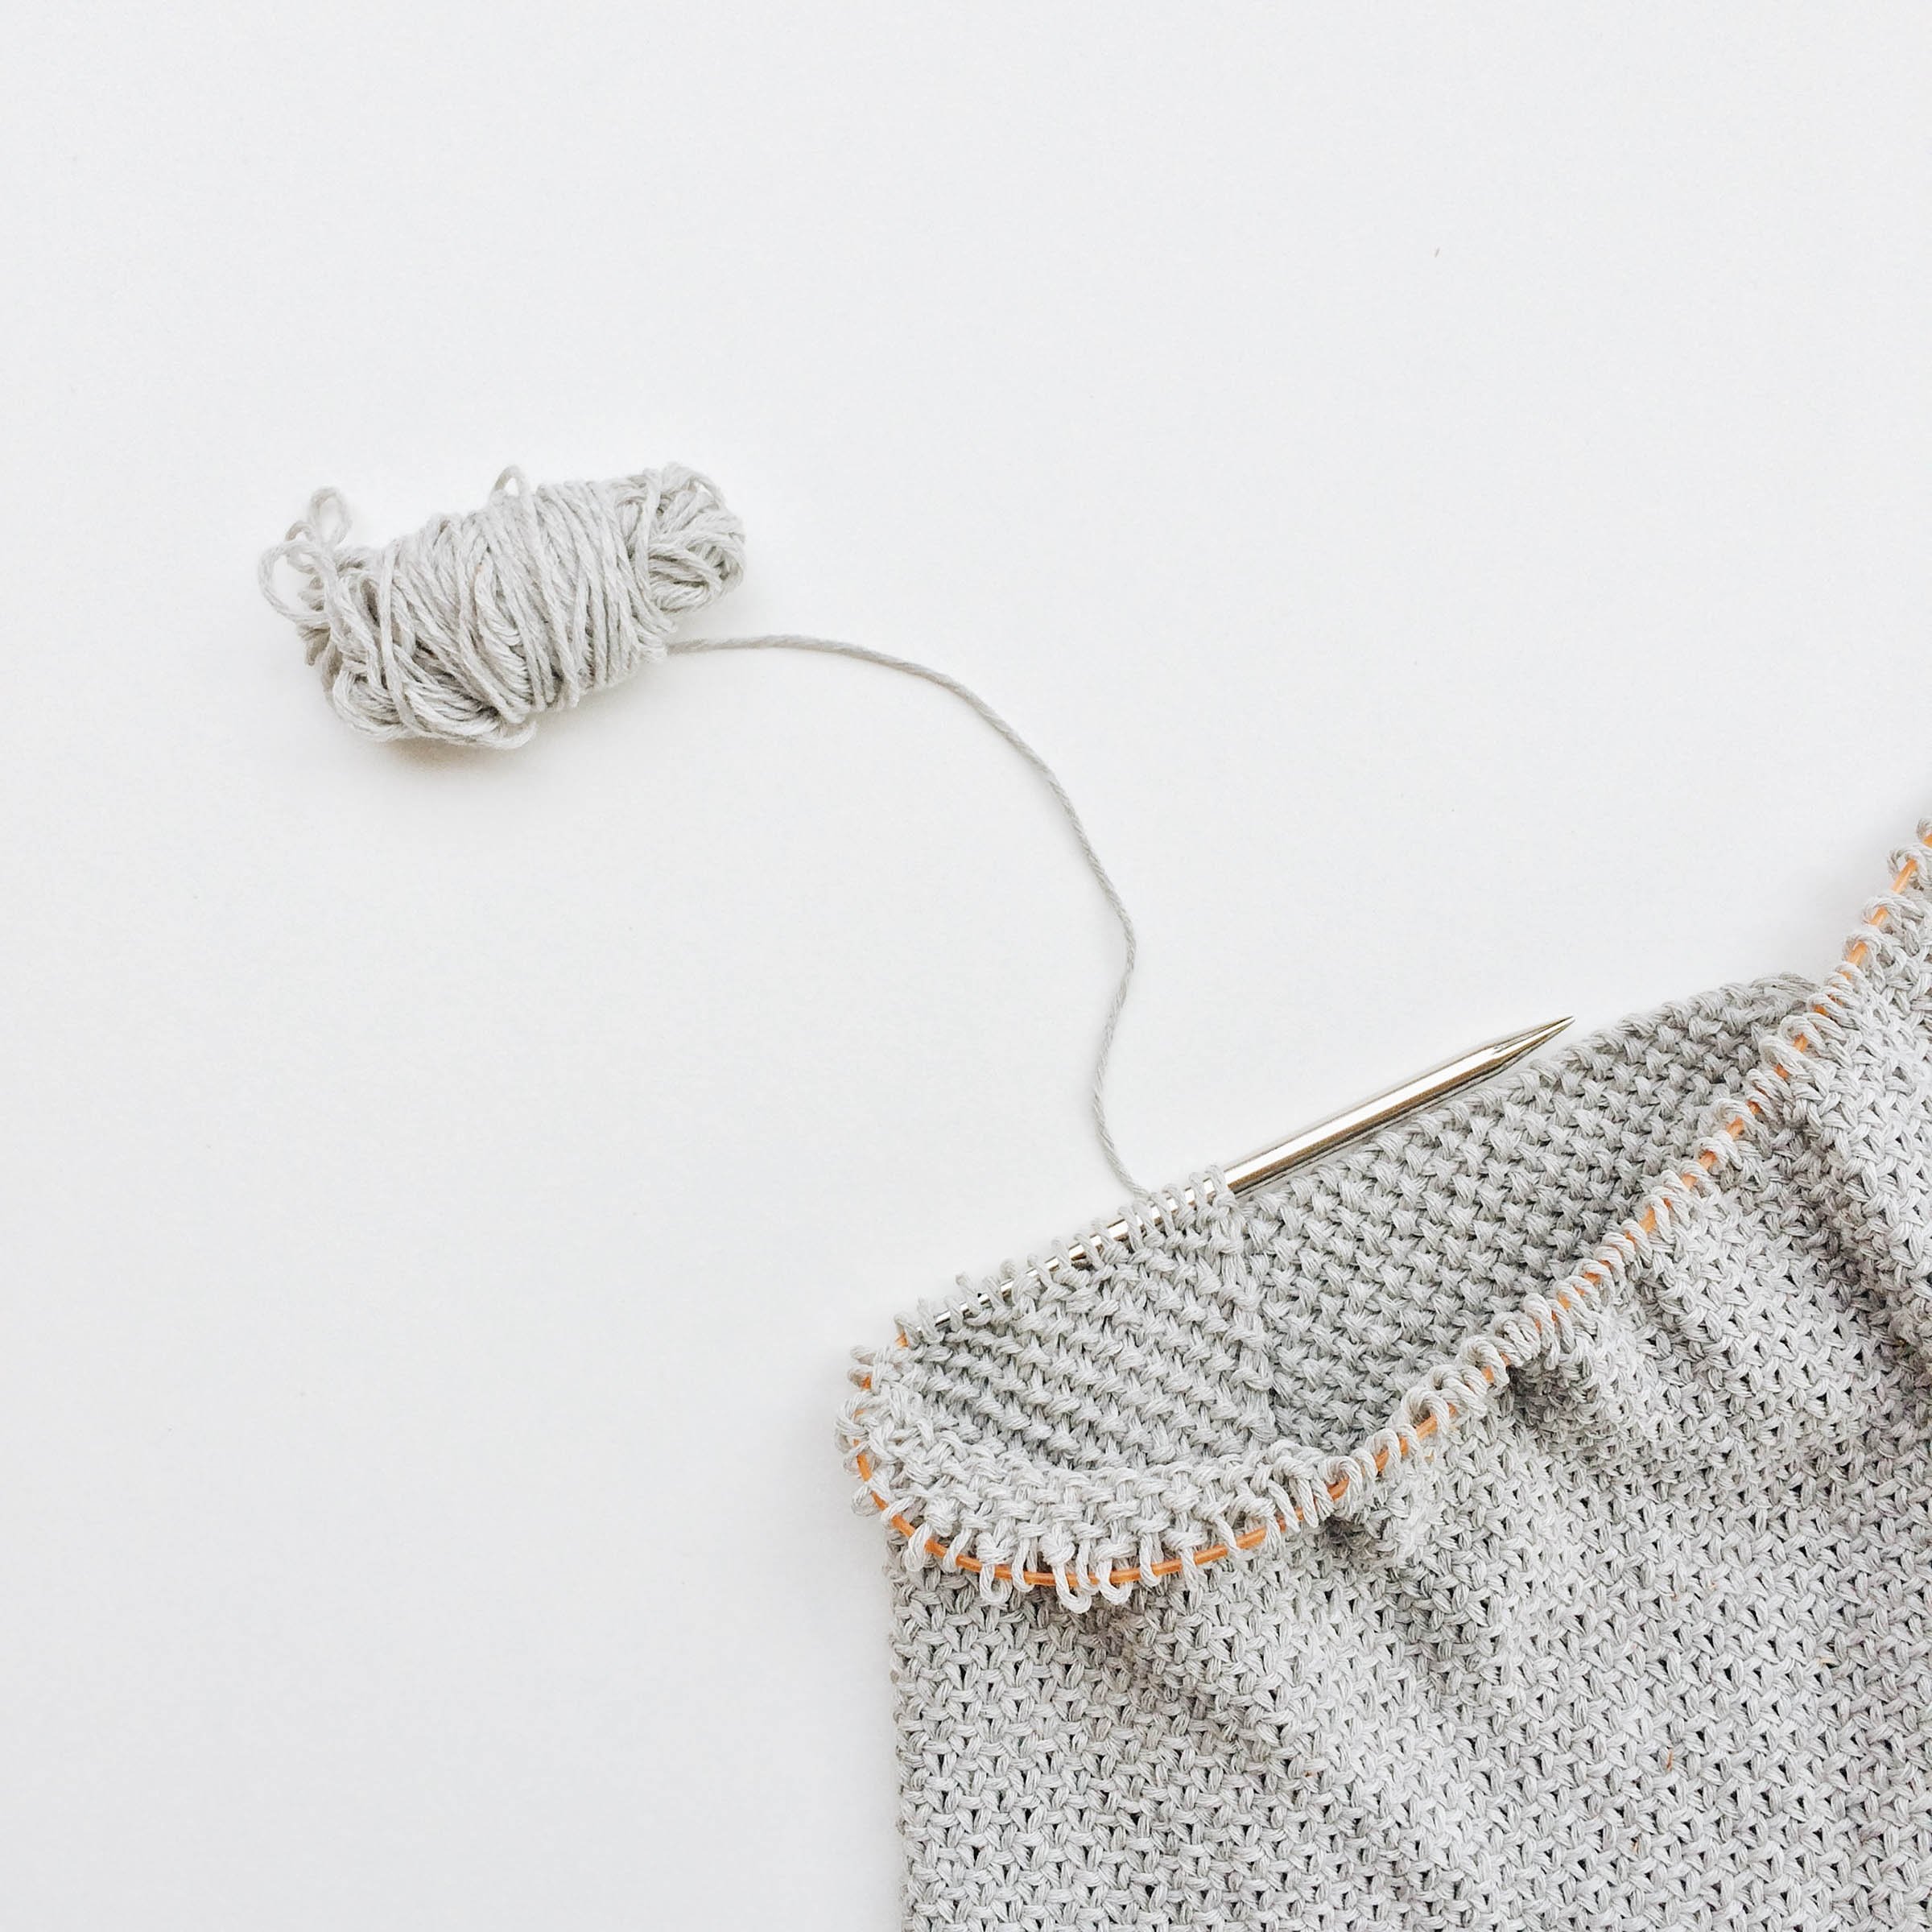
Creating beautiful items means ensuring each stitch is doing what it’s supposed to. (Image of the Trailfinder Hat in progress.)
In my next Reading Your Knitting tutorial, I will show you how to count rows between increases and decreases without using a counter.
Happy knitting!
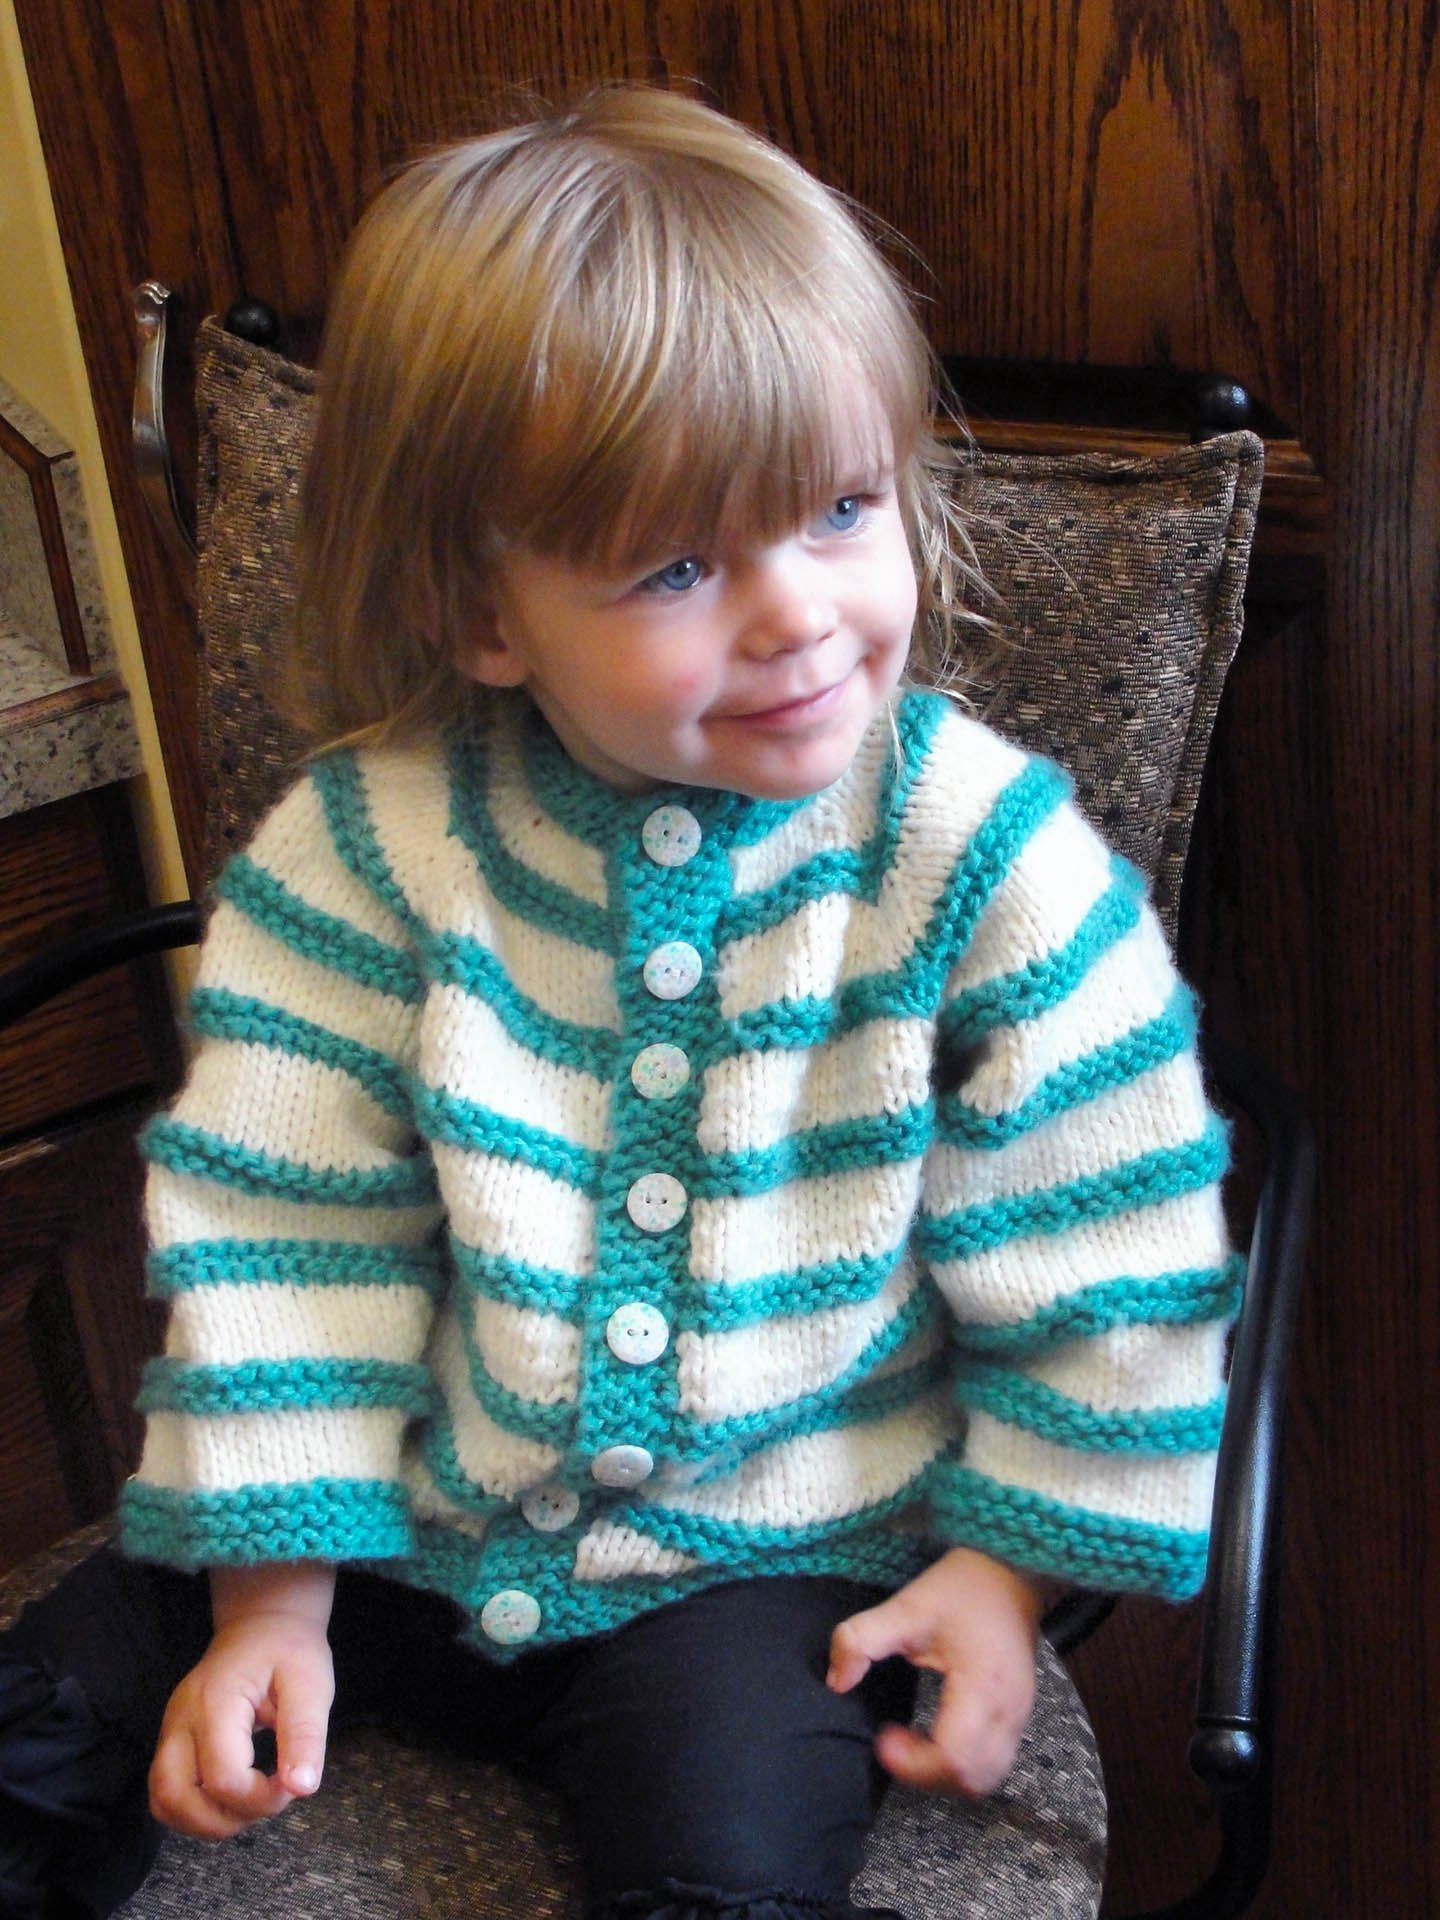
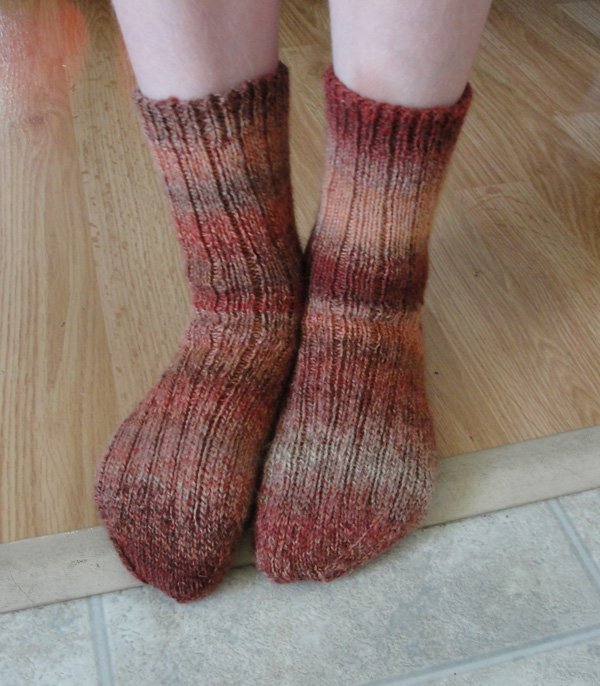
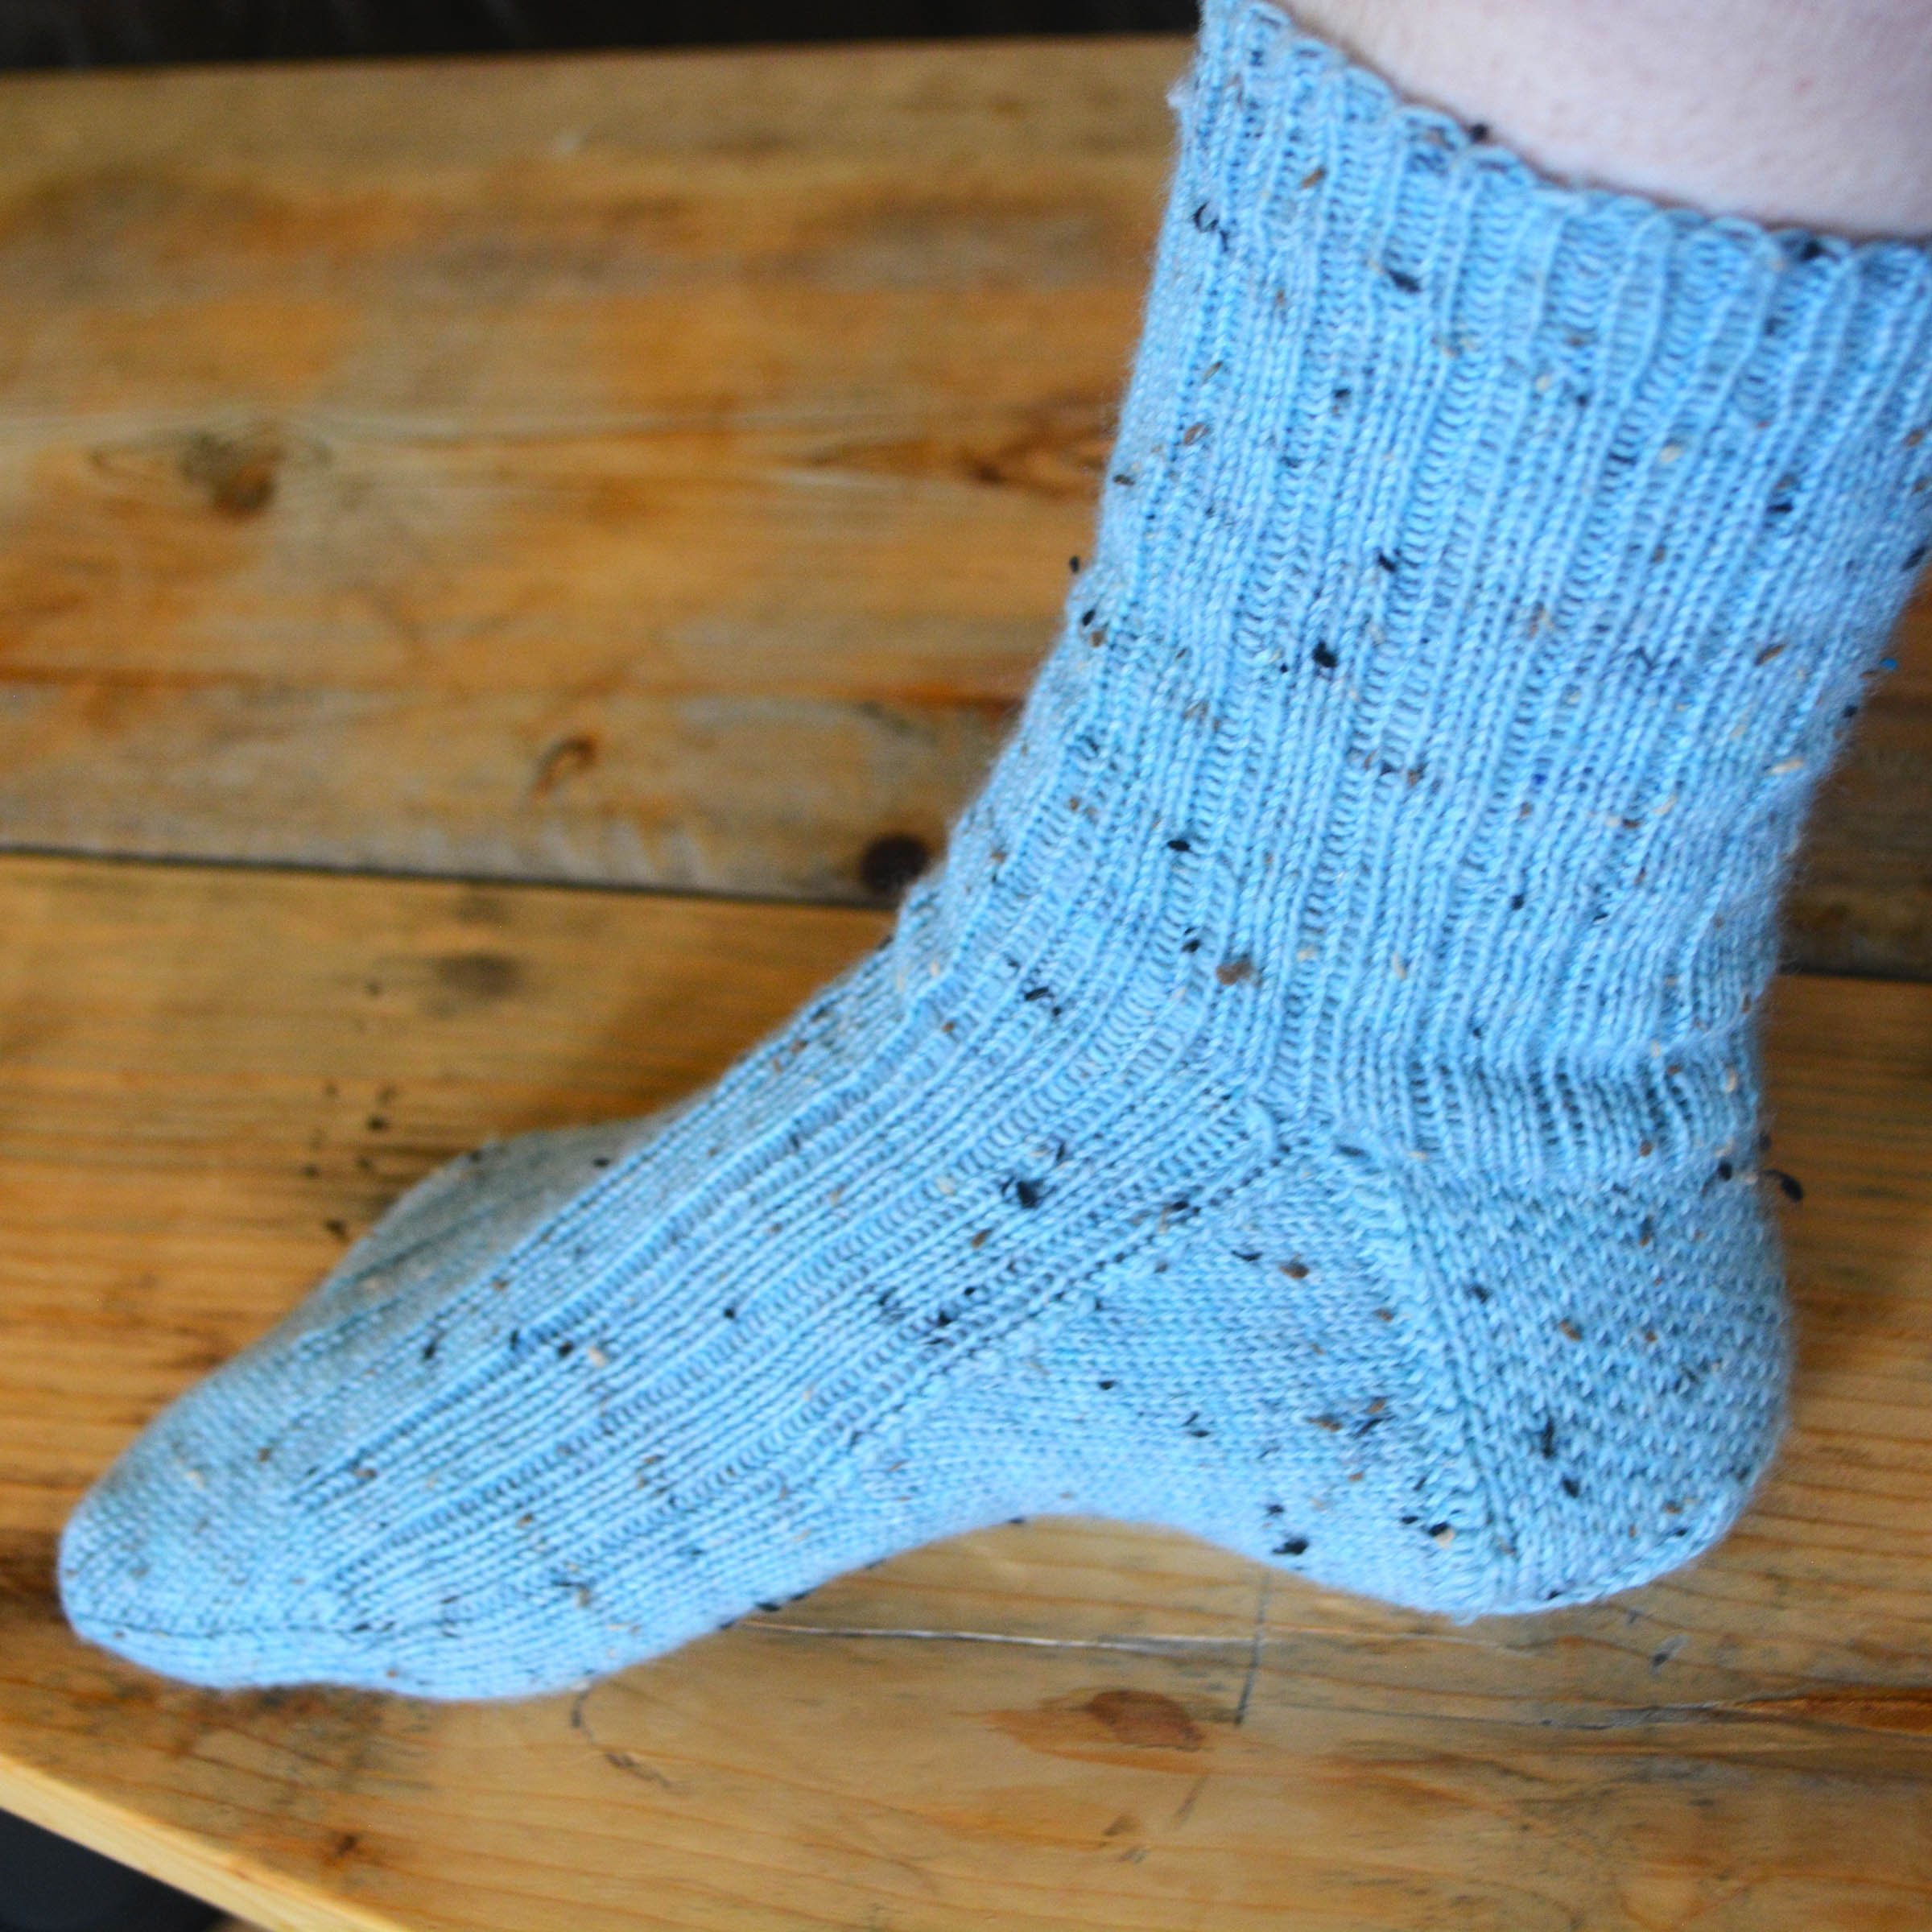
Try our patterns: