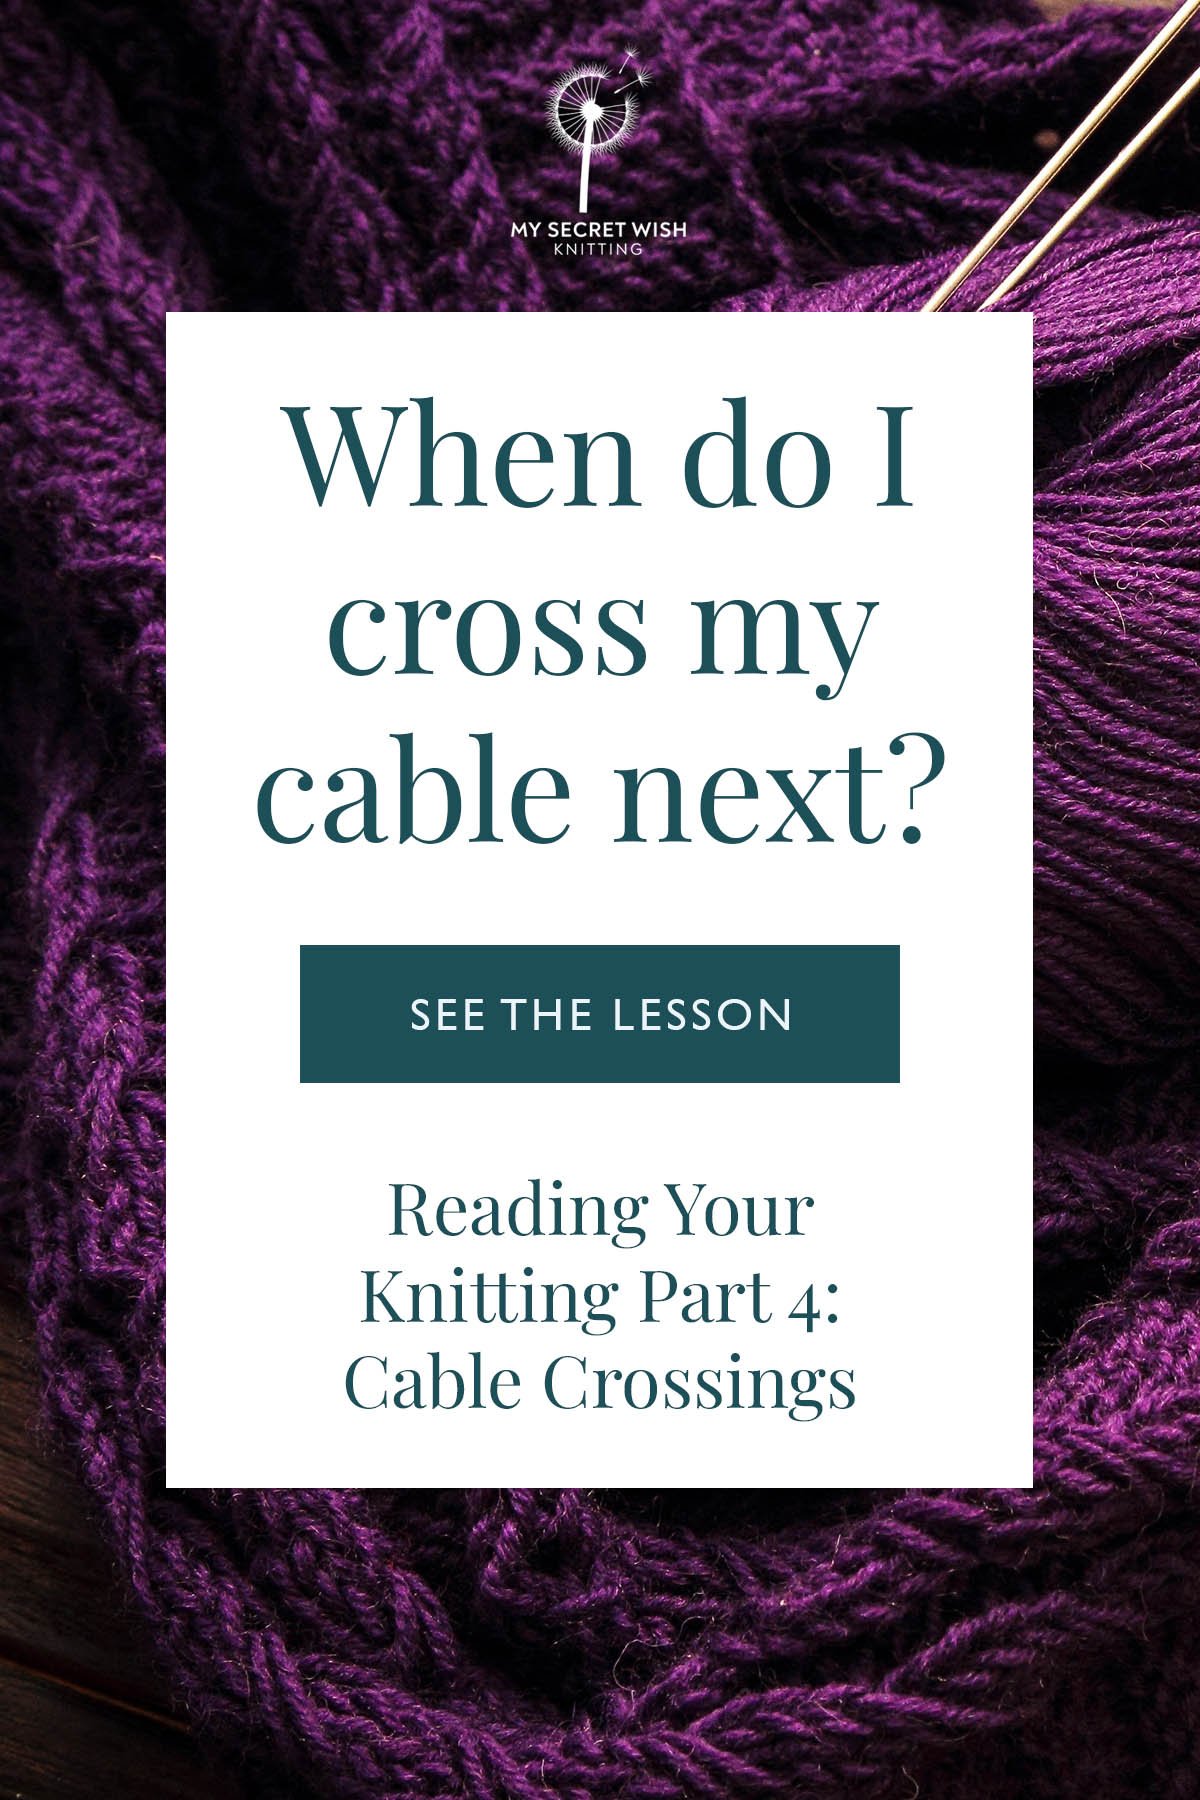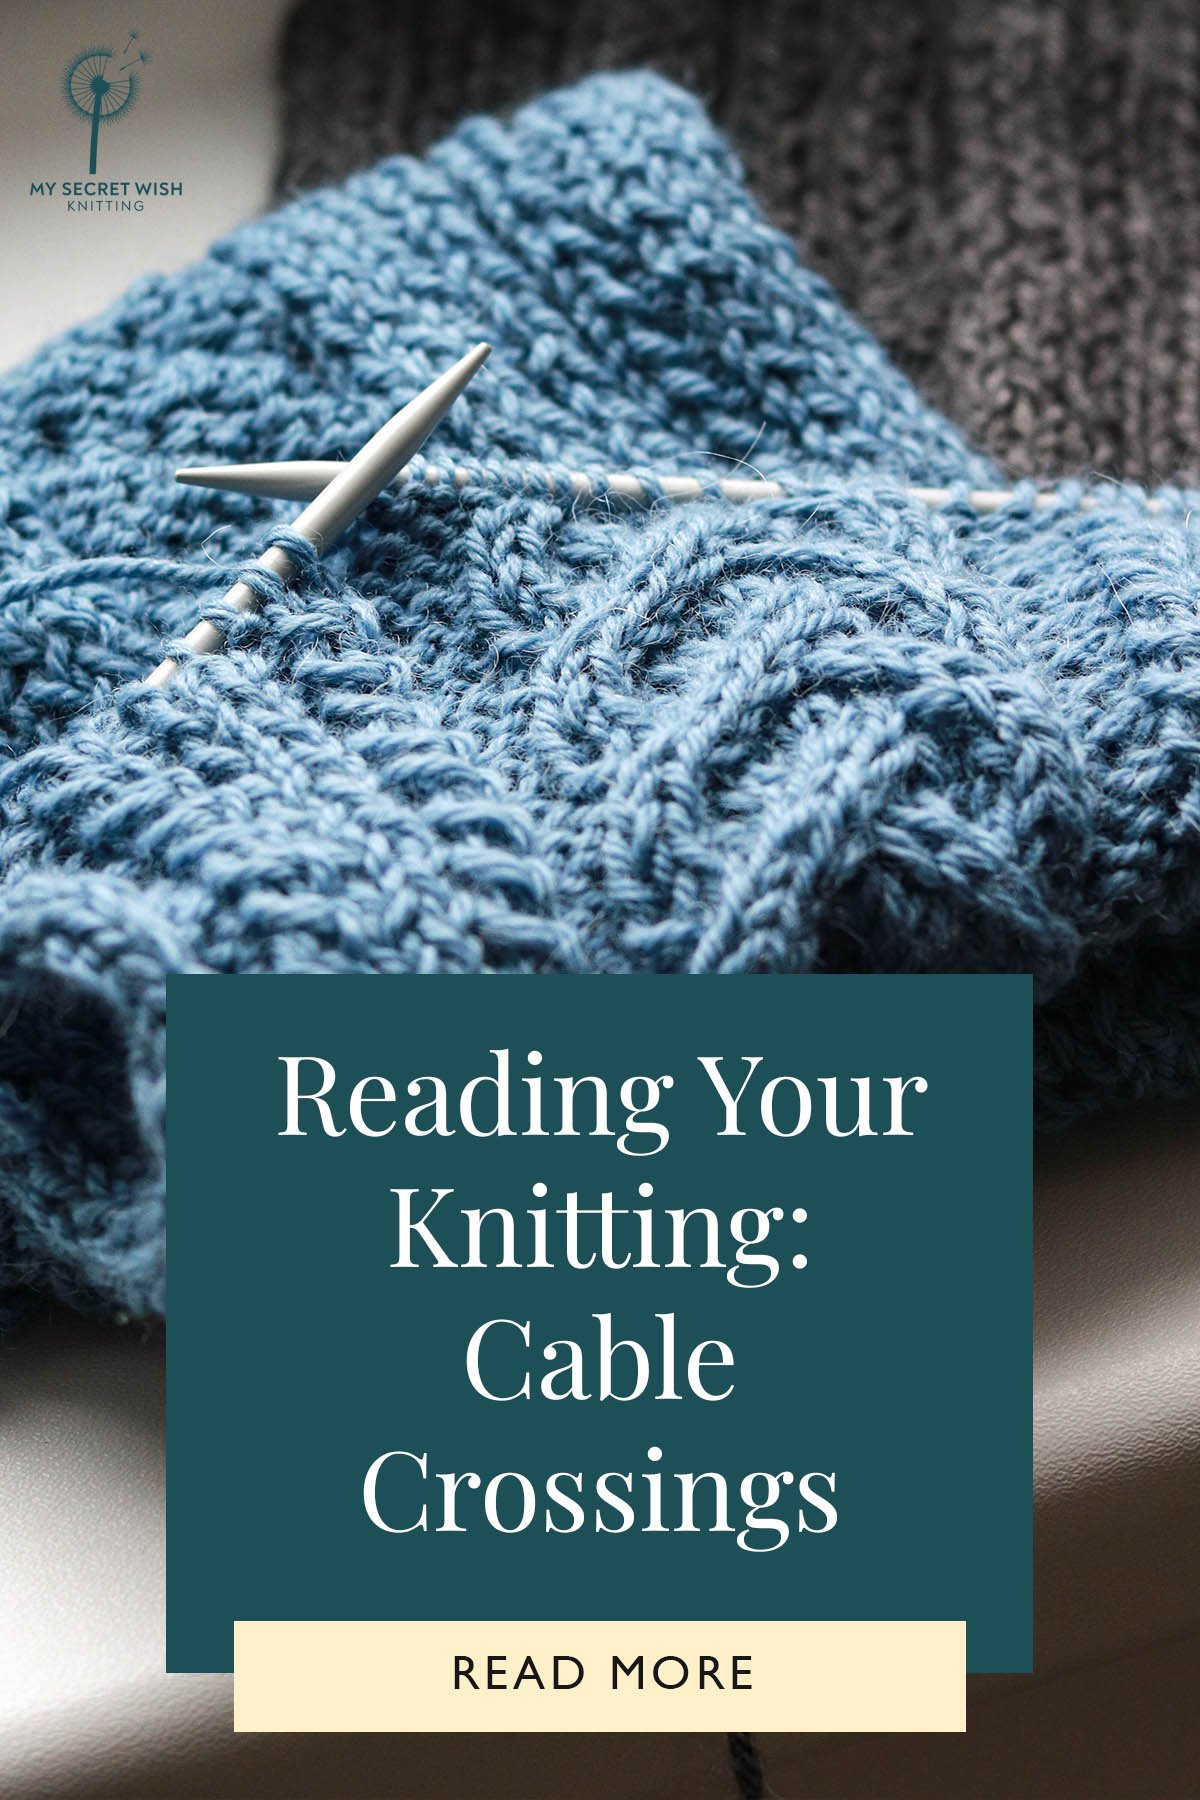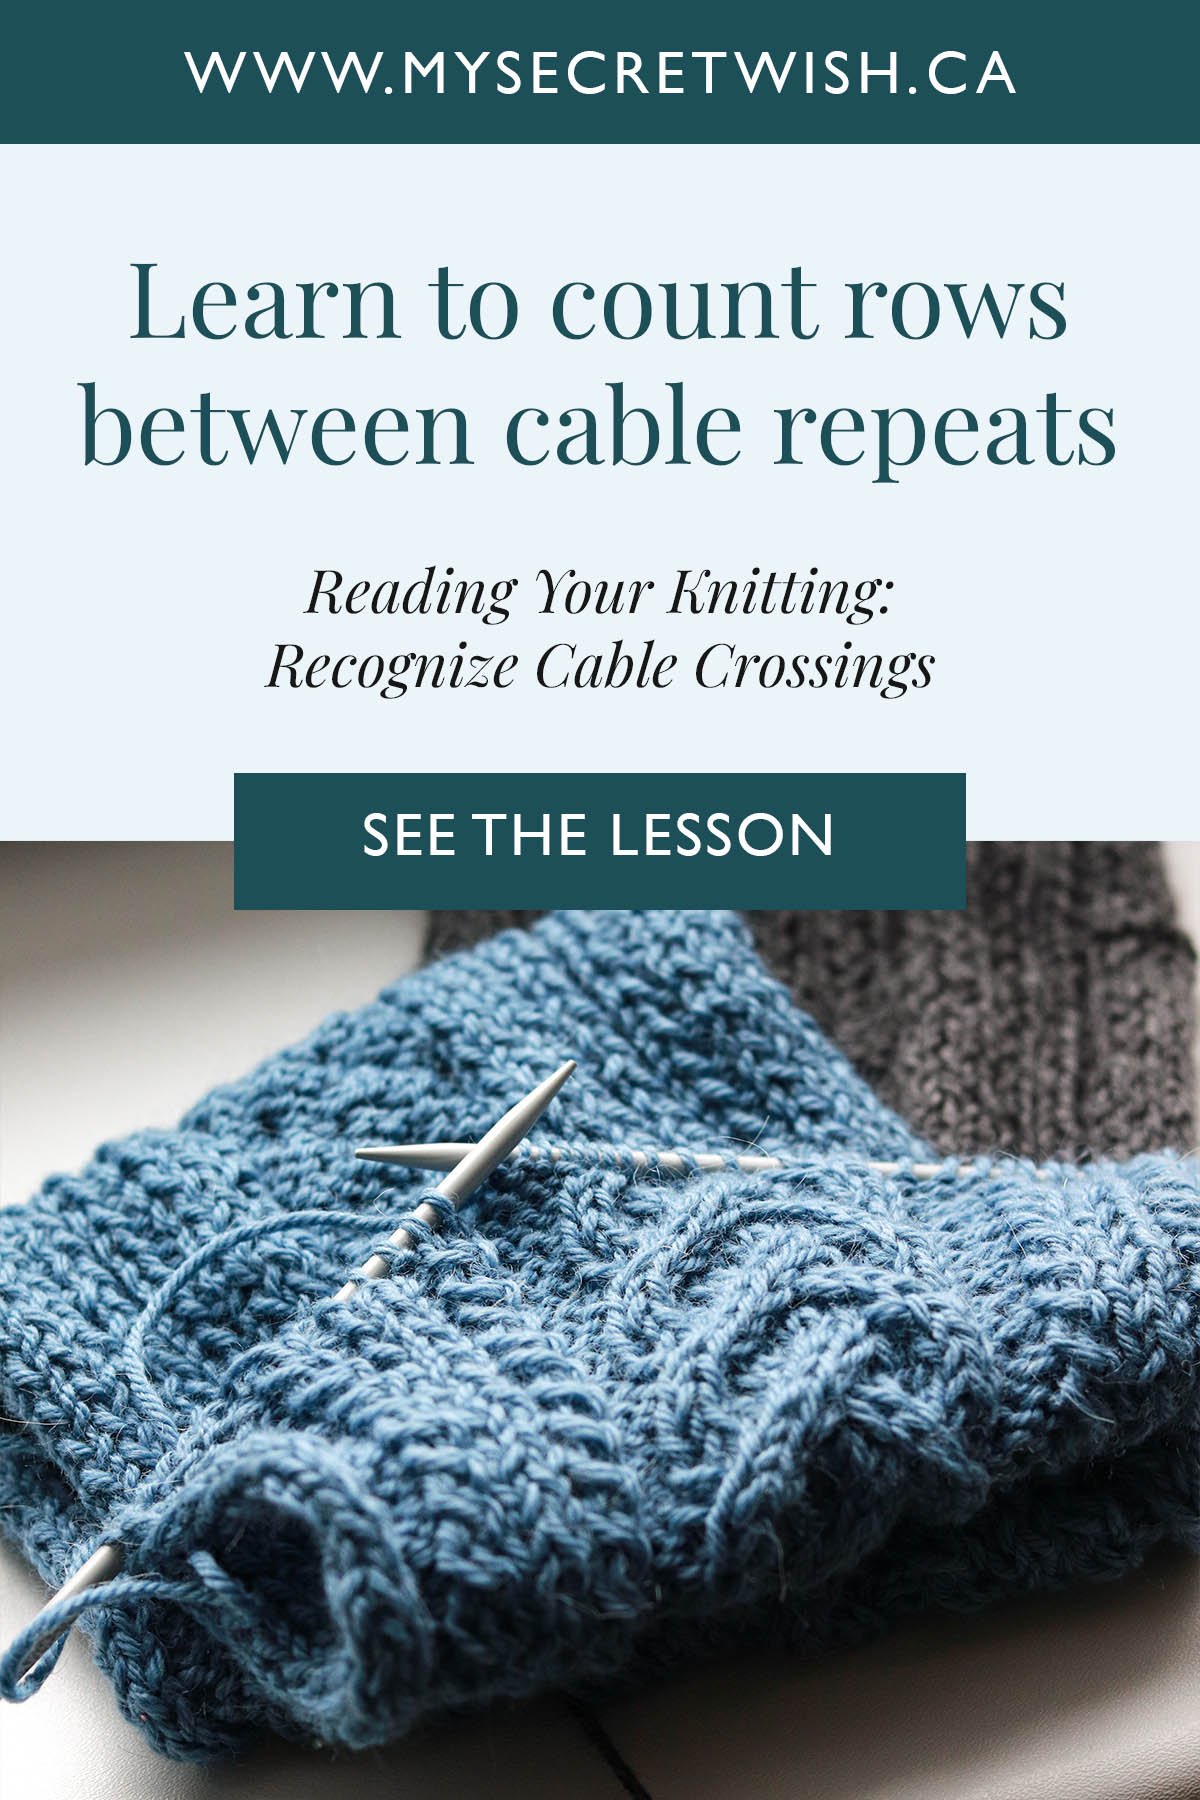
Reading Your Knitting 4:
Recognize Cable Crossings
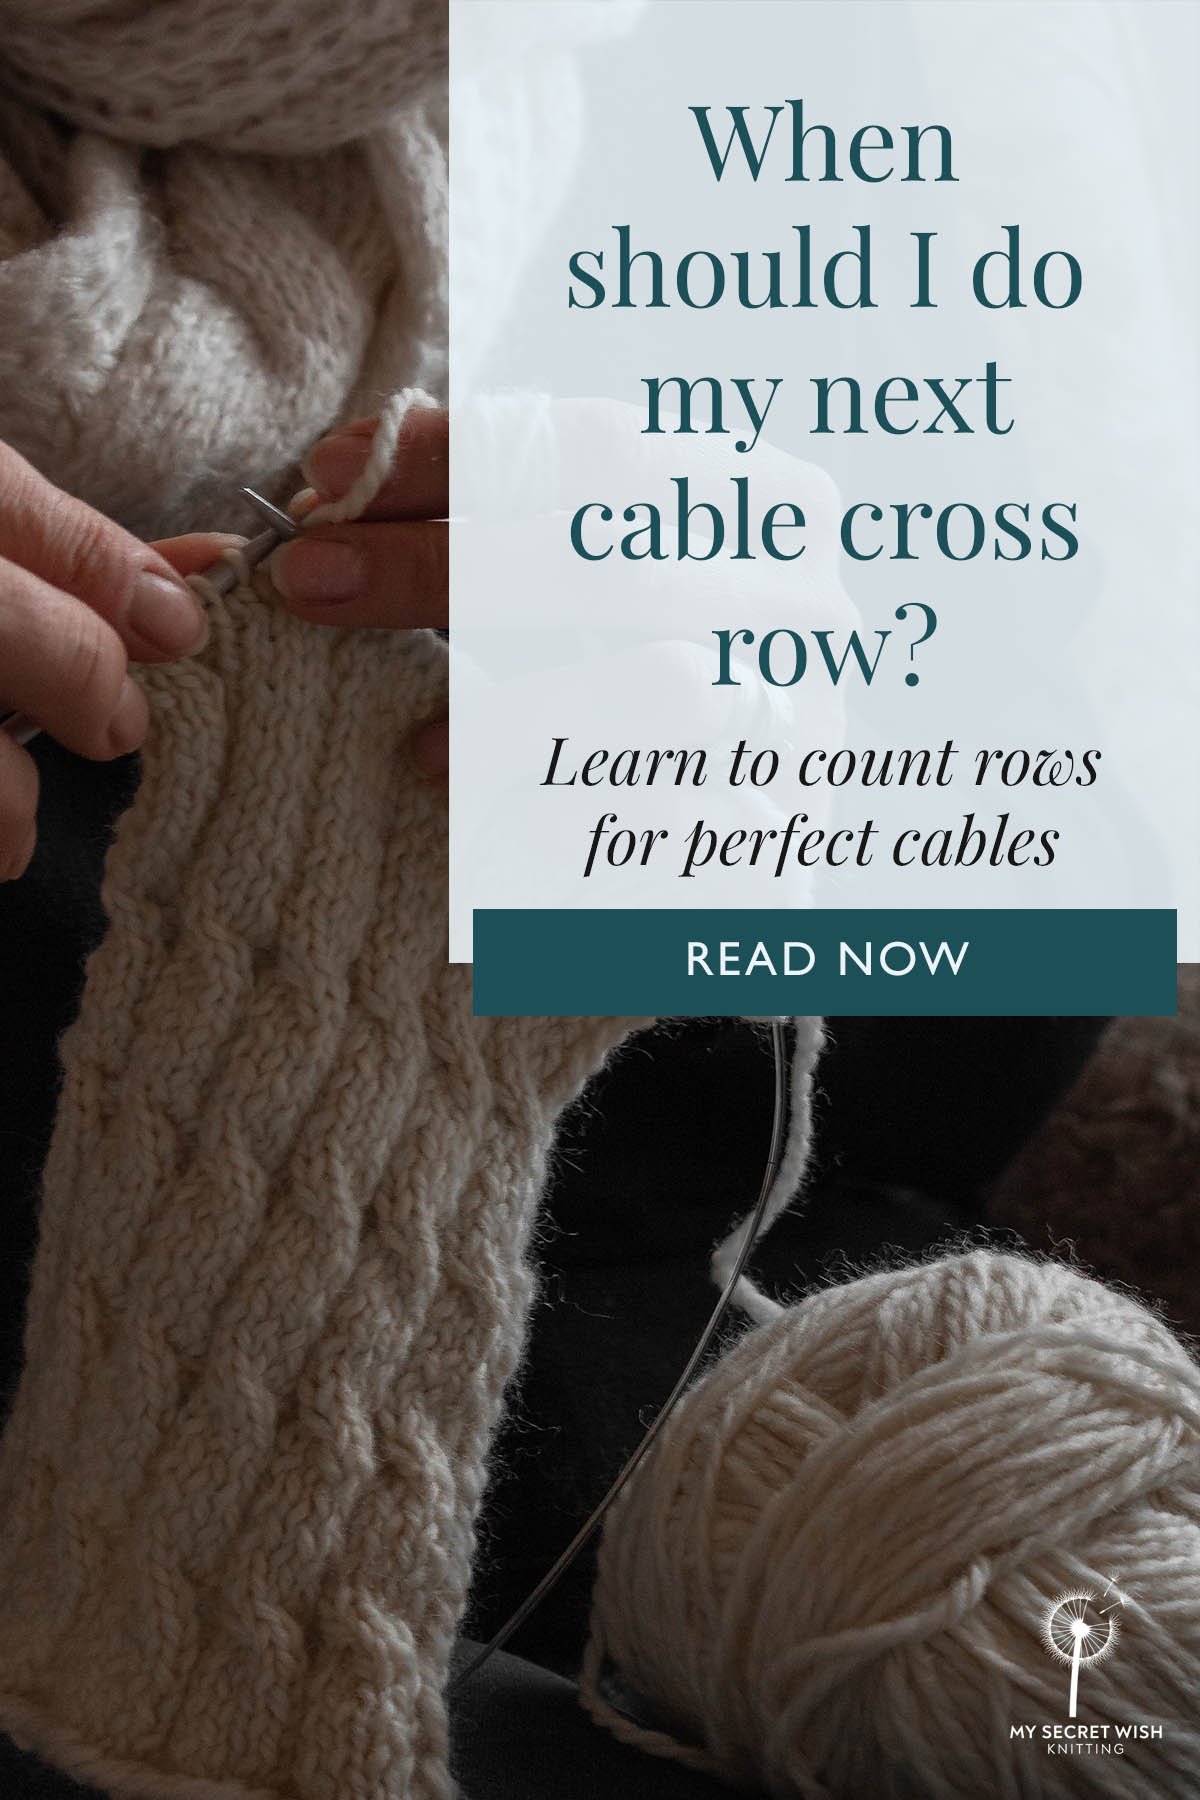
Identify where your last crossing row occurred to keep pattern repeats on track.
Knitted texture is one of my absolute favourite things in knitting. I love knits, and purls, and all the combinations thereof. But what I really love is the magic you can make simply by knitting some stitches out of order—also known as cabling.
I started knitting cables early on in my knitting career, which means I have had a LOT of practice learning how to recognize where I am in a cable repeat. (Humble brag: I once knit an entire hatband for the Lucy Pevensie Tam while a passenger in a nearly-dark vehicle, completing it mostly by feel—and I didn’t even need to unknit later.)
While I can’t promise to pass on my in-the-dark-knitting superpowers through this tutorial, I can promise to show you not one but three ways to recognize when it’s time to do another crossing row on your cable—without that infernal row counter.
If videos are your style, check out the tutorial video (about ten minutes long). If you dig reading stuff, first, knitting high five, and second, read on!
Setting Up the Cable
As I said above, cables are what you get when you work stitches out of order. You either cross stitches in front of or behind your work, work a few stitches, then work the ones you crossed. This simple technique can be used to create hundreds (maybe thousands?) of lovely designs.
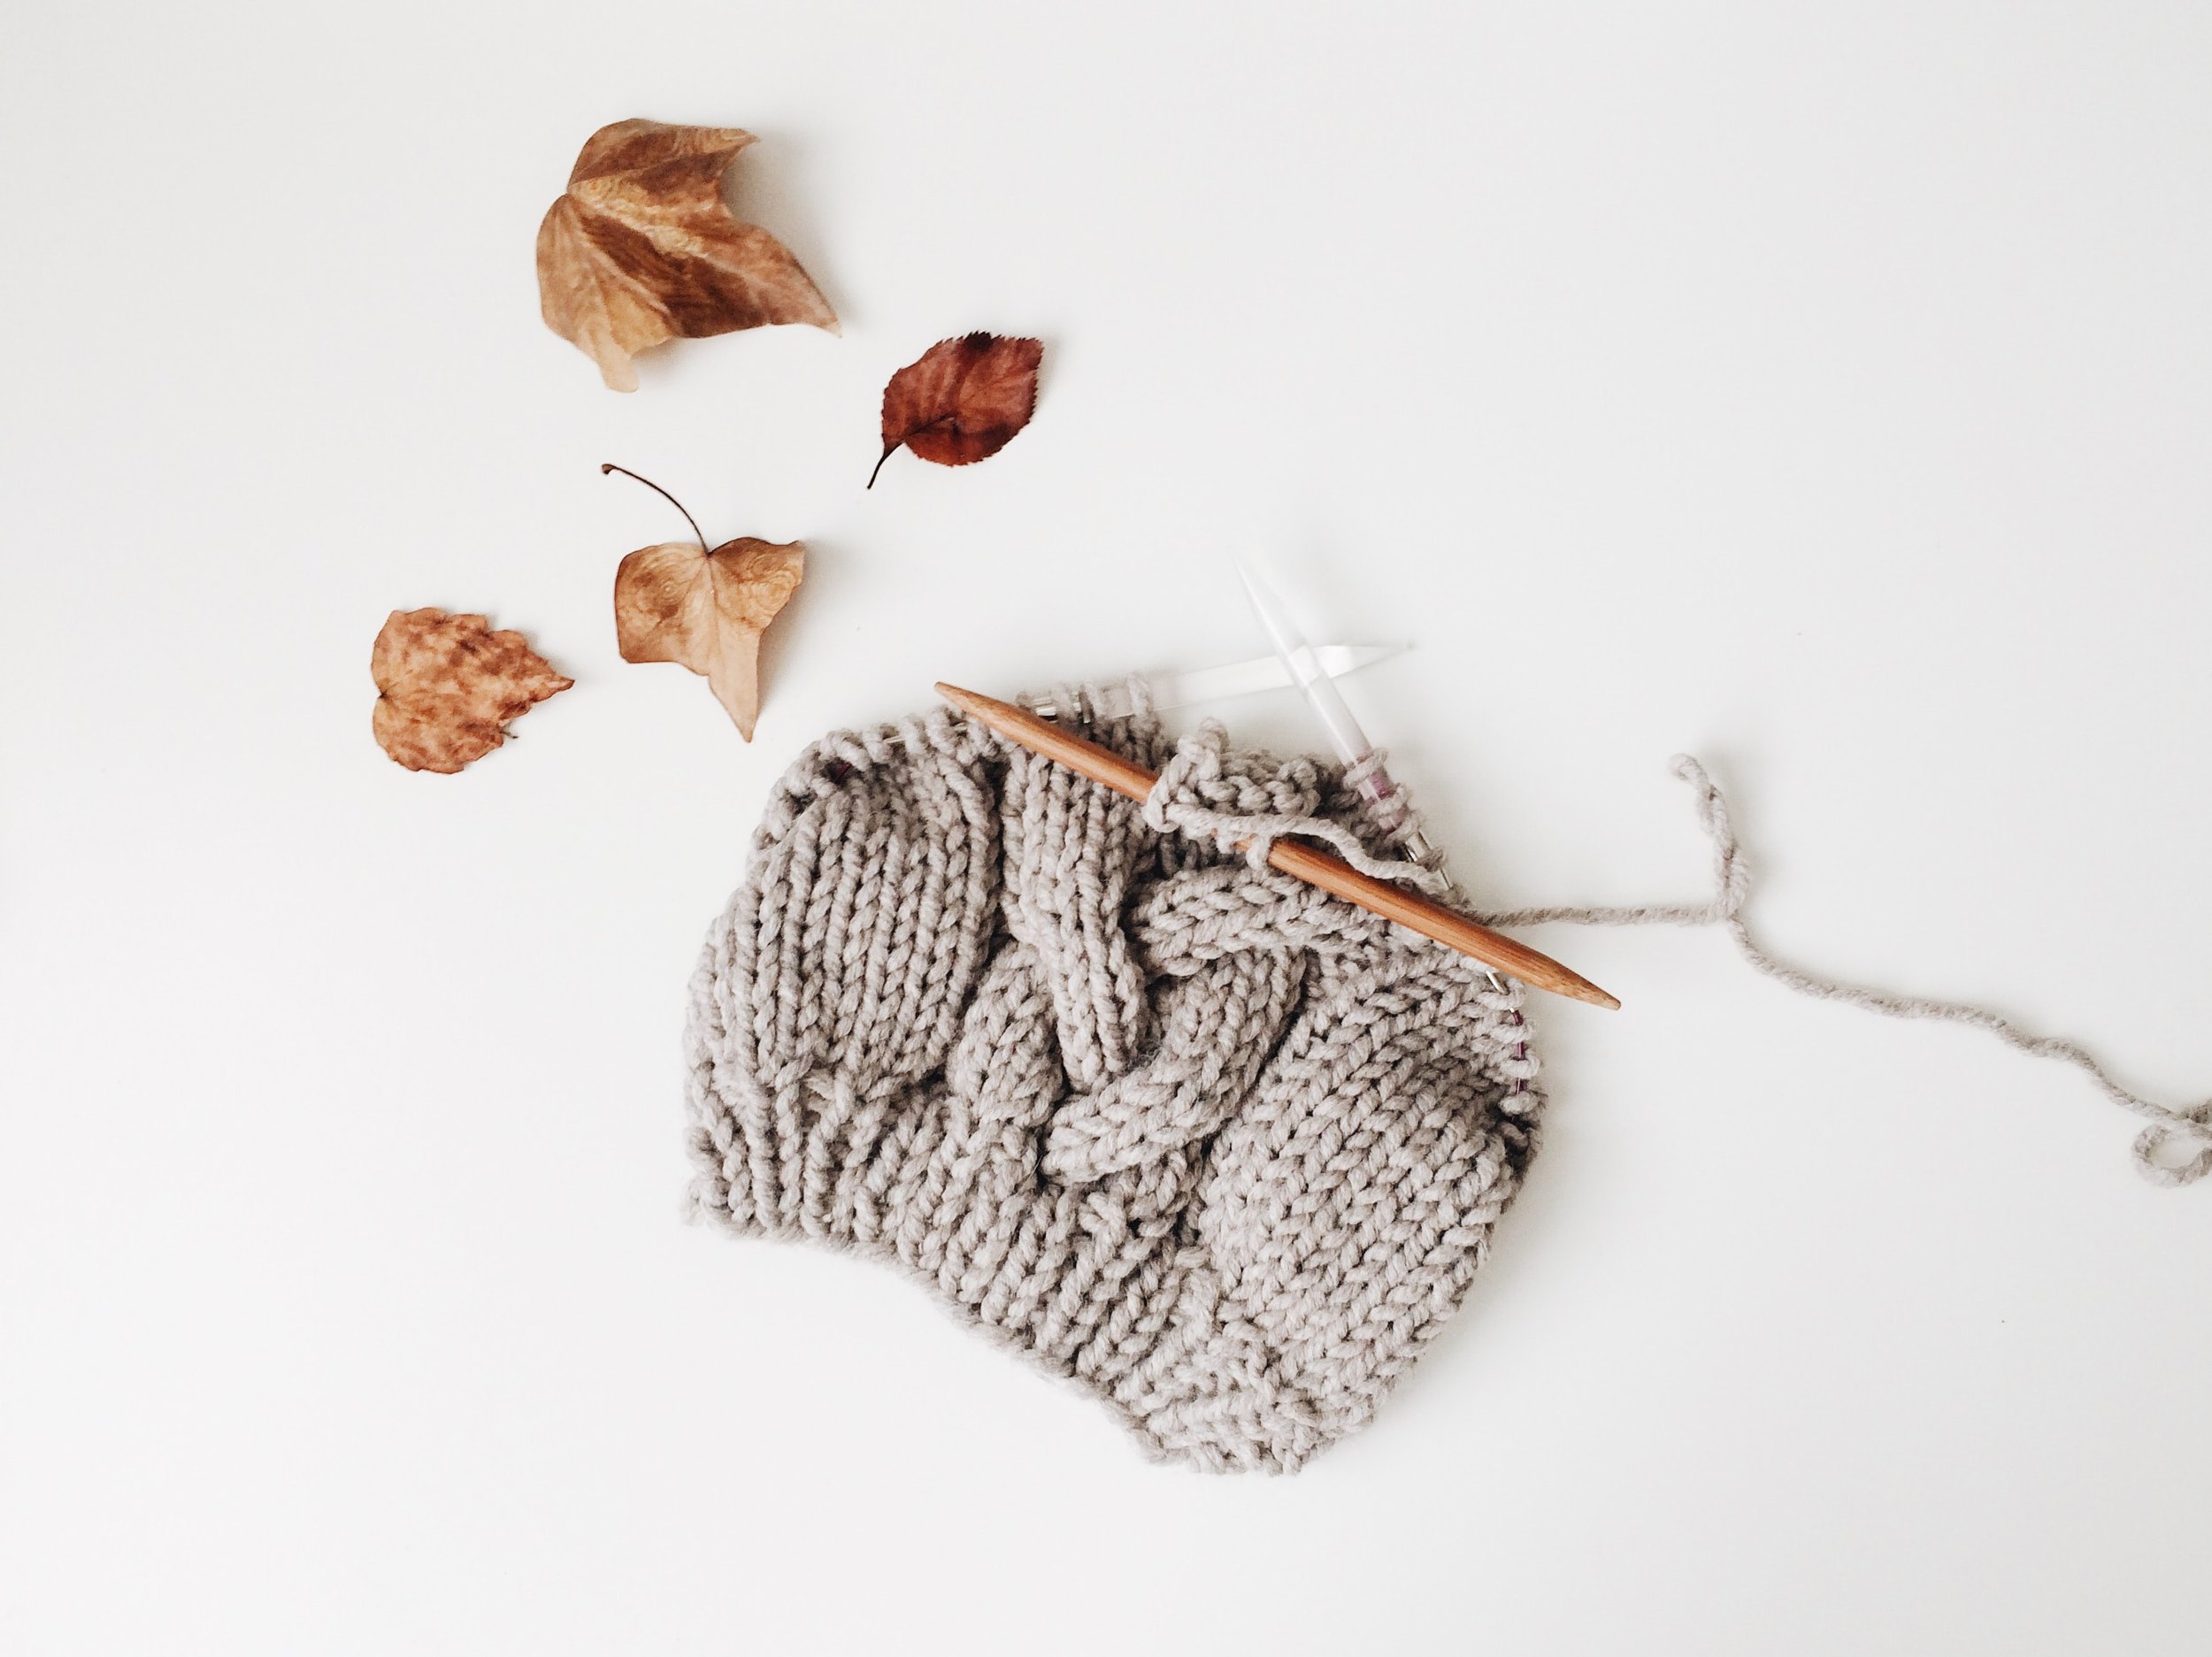
For my sample swatch, I used a six-stitch cable with a repeat every six rows, which means I crossed three stitches over three stitches. This creates a very typical rope cable. For a rounded cable like this one, the number of rows between crossing rows should be the same as the number of rows in your cable repeat.
The cable has garter stitch (knit front and back) on the right side, and reverse stockinette stitch (purl on the right side, knit on the wrong side) on the left. These are two very common choices to edge a cable.
While your crossing row most likely is not the first row of your pattern or chart, for the purposes of counting, you will think of it as number one.
But how do you know when you reach the next number one?
Garter Stitch Method

Garter Stitch Method: Count purl ridges. One ridge for every two rows of work.
Garter stitch has a purl ridge every two rows. (If you have a tough time recognizing knit and purl stitches, check out my first “Reading Your Knitting” Tutorial.)
In the pattern above, the crossing row had a row of knit stitch beside it, which meant that I would be on a knit row when it was time to cross. I should also have three purl ridges between this crossing row and my last one.
Can you see it?
Reverse Stockinette Method

Reverse Stockinette Method: Count every ridge, starting with the previous crossing row (which is above the little gap/dent in the edge of the cable).
The Reverse Stockinette Method counts purl ridges, too, but in this case, there’s a ridge every row.
So, starting with the last crossing row (which would be the row of ridges right above the little dent in the edge of the cable), count every ridge in a column of purl ridges equal to the number of rows between crossing rows.
Climb The Cable Method

“Climb the Cable” Method: Flatten cable, count knit Vs from the first row above the last crossing row (where you can see the stitches cross the cable).
If you flatten your cable, you should be able to see that the row above the “gap” is the first row where you can see the Vs line up all the way across the cable. This was your last crossing row.
Count up the Vs to find out if you are ready for another crossing row.
So, now you are well on your way to ditching the row counter completely! You can recognize your increases and decreases, and with a little practice, you'll be able to count rows between them with ease.

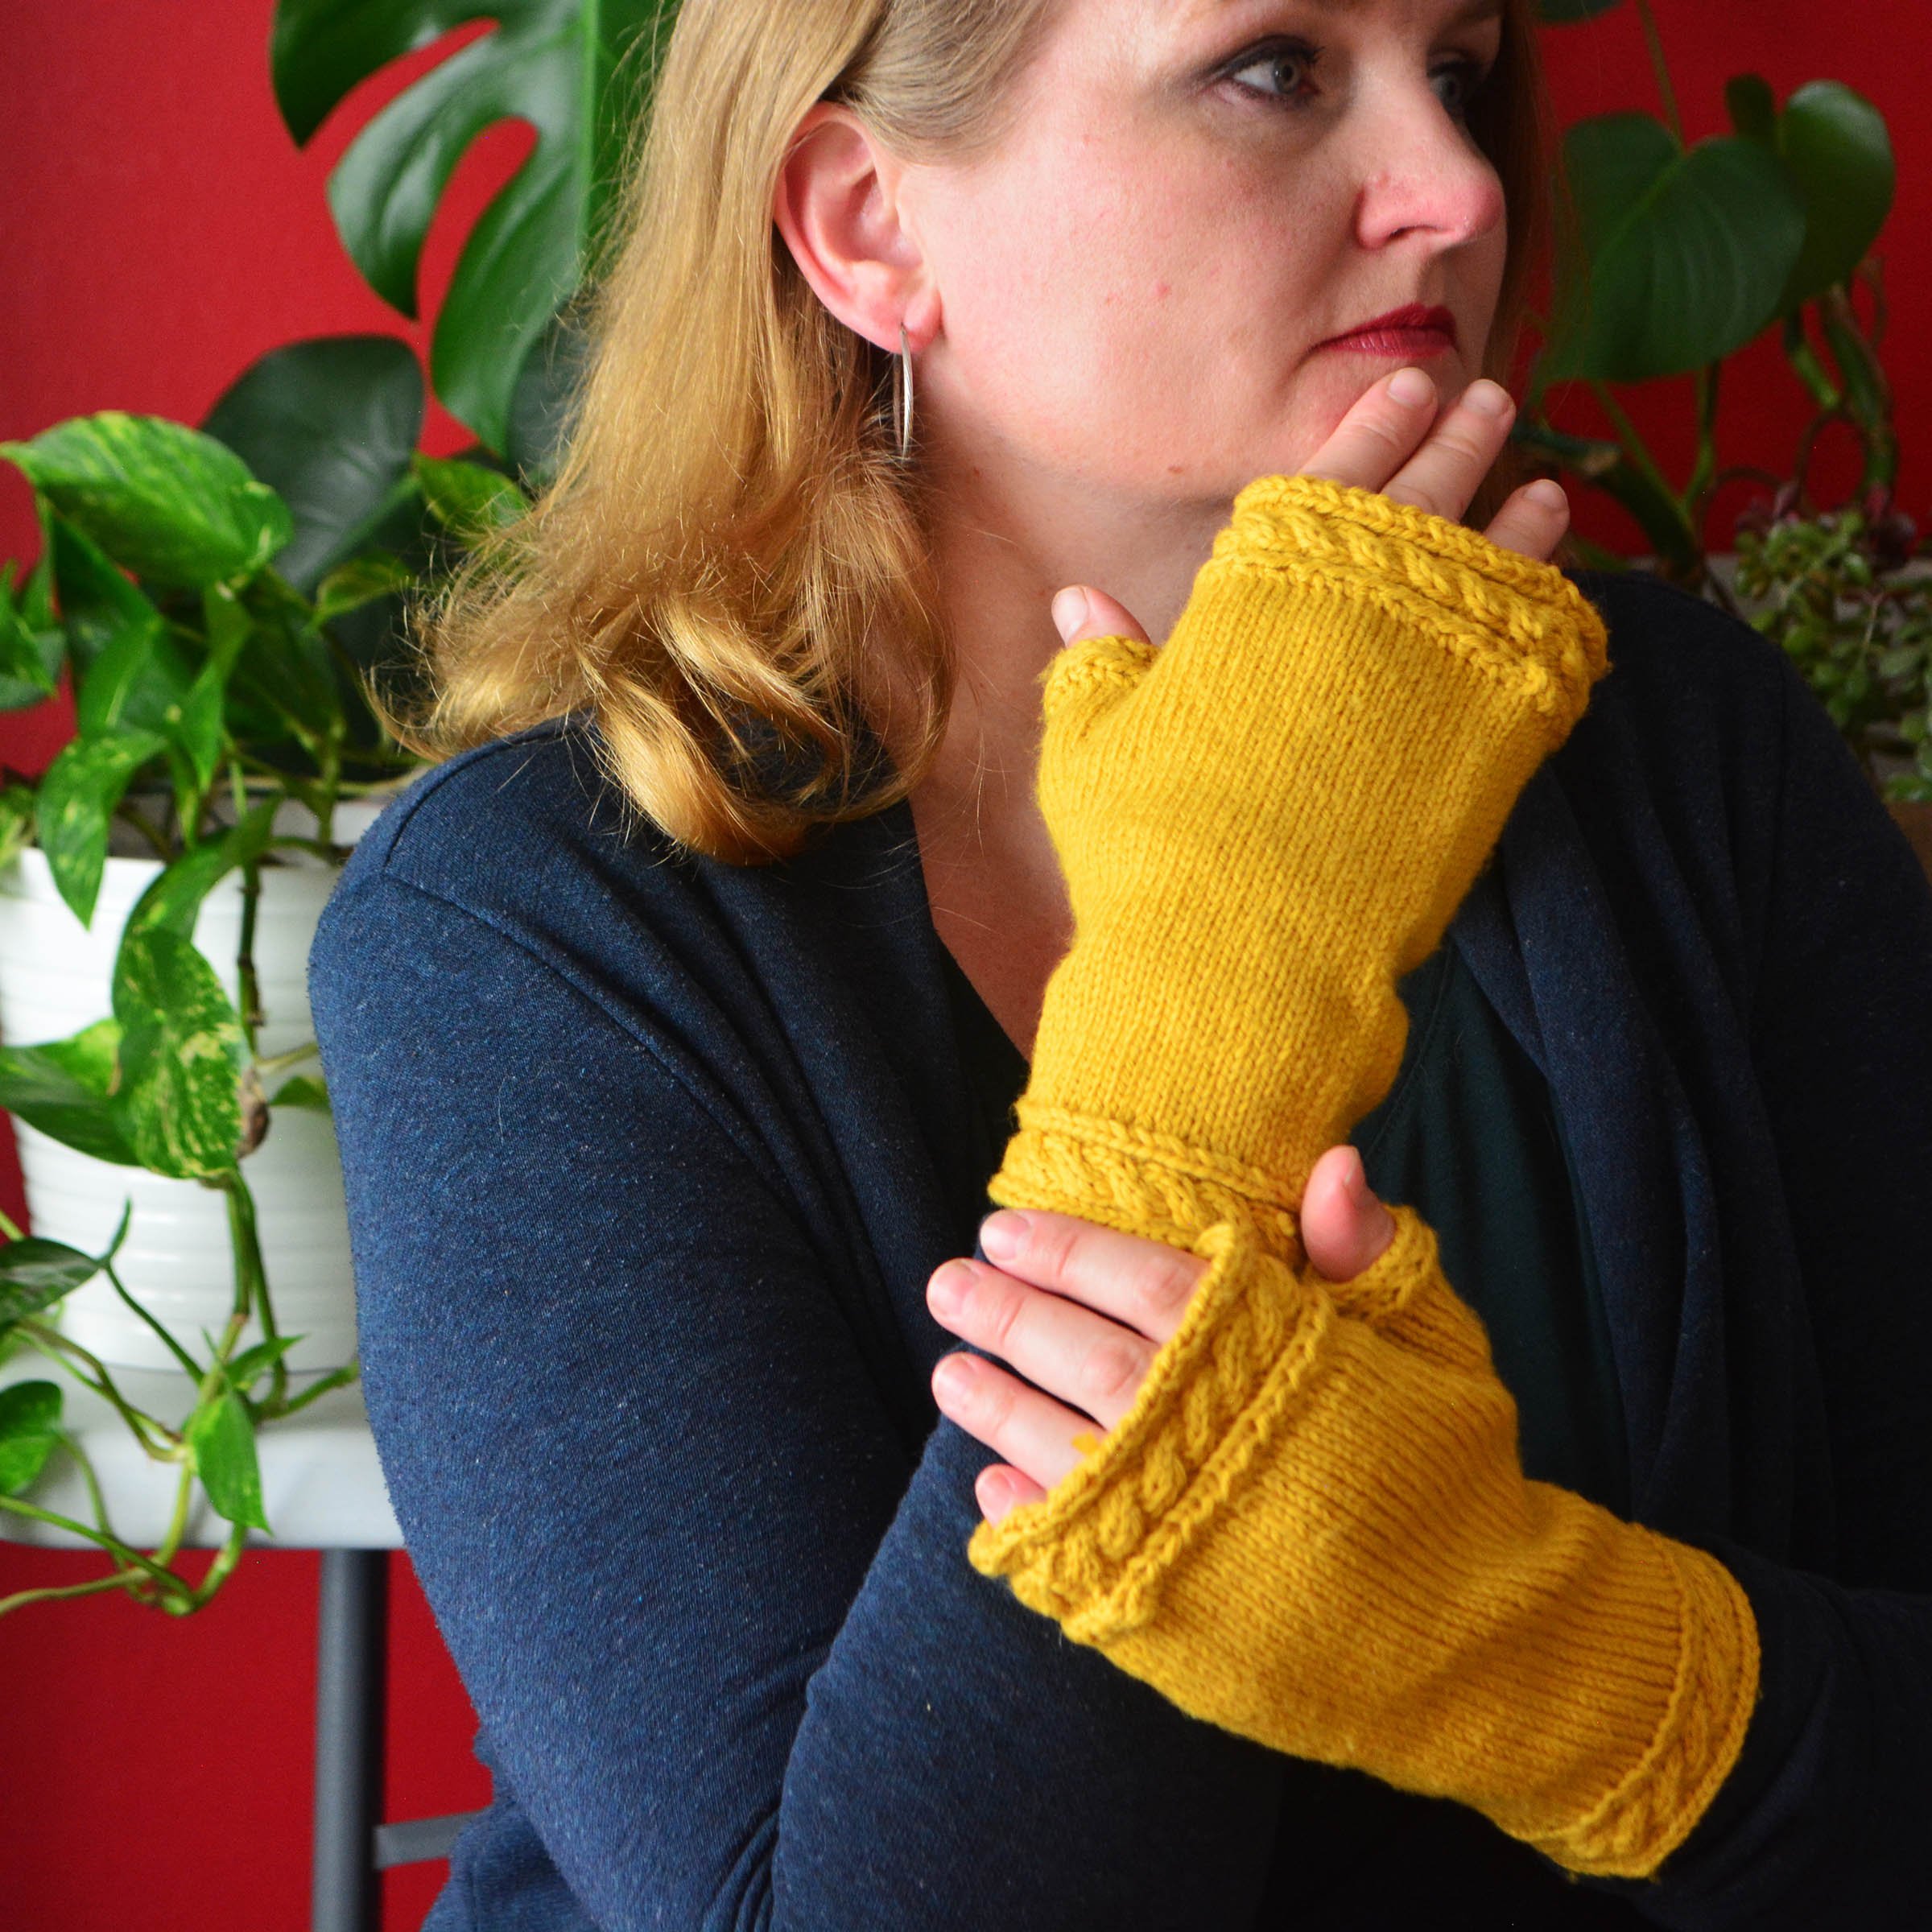
When you know how to recognize cable crosses, even very complicated cable patterns become a breeze. Lothlorien Fingerless Mittens shown.
And that’s it. Pretty simple, eh?
Be sure to check out my other Reading Your Knitting tutorials, or my many other Stitch Tutorials or knitting patterns.
If you have a question about reading your knitting you would like to see me cover, please send me a note through my contact page.
Happy knitting!
Try our patterns: