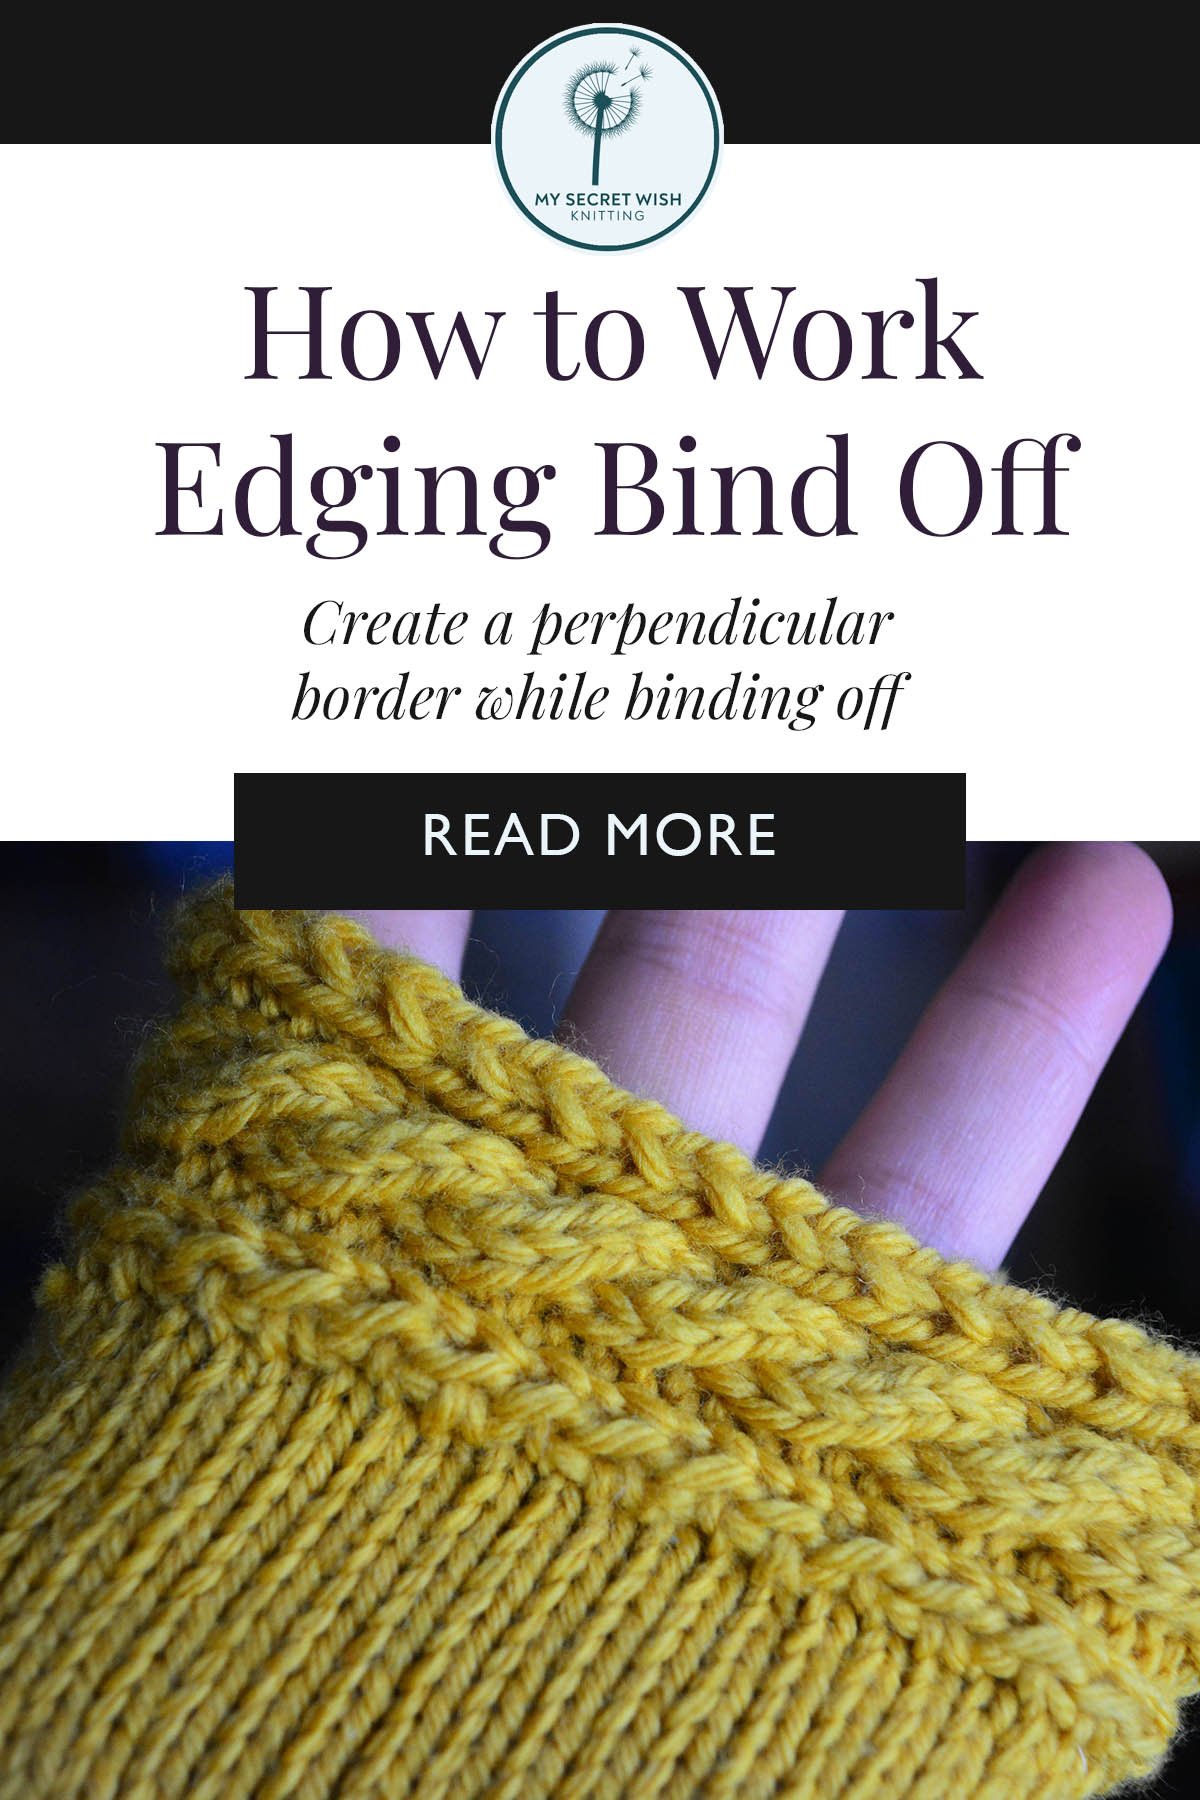
Edging Bind Off
Create a perpendicular border while binding off
Some projects require a special finishing touch. Create a decorative edge while you bind off with this lovely and unusual technique.

How to do it:
Basic Principle:
You’ll be knitting back and forth on a decorative edging and binding off stitches from the main garment on one edge three out of four rows worked.
This tutorial is in progress. The key points are:
Cast on the number of stitches required for your edging. If you’re working in the round, I recommend using Provisional Cast On.
Work your edging, working the last stitch of each Right Side row together with a main project stitch. On the Wrong Side, work the first stitch of each edging row together with a main project stitch every other time. This means you’ll be binding off three stitches from the project for every four rows you complete of your edging, which creates an approximately flat transition. If you want your edging to draw the edge of your project tighter, then you can bind off a stitch with every row of edging.
If you’re working in the round, once you get to the last row, place your cast-on stitches on a needle and graft your working stitches together with the first row. This may result in one additional row of your edging design, which may or may not be a problem for your design. Use your judgement about whether to graft your last row of edging stitches or the second-to-last. Weave in ends to close any gaps.
Congratulations! You’ve completed your bind-off!